Before starting to create items, it's important to understand the following three concepts:
Base Item
= an inventory item, as it is being consumed in the kitchen and in recipes by its specific unit of measurement (UOM). For example: "Chicken Breast", consumed by "Kg".
Package Item
= a package with specific measurements / weight from which the base item is purchased from suppliers and stored in my store room. For example: "Chicken Breast 1.5 Kg Box".
Supplier item
= the item, as sold by the supplier, which is linked to exactly one package item on Supy with a price specific to this supplier. For example a supplier item may be named "Large Chicken Aurora Box 1.5Kg" which will be linked to a package item "Chicken Breast 1.5 Kg Box" and may be priced at $12 for each such box.
To understand how to correctly create items, it's important to understand the following:
A base item serves as the "master item"; multiple package items can be created under a base item.
A same package item can be assigned to multiple suppliers
(!) When items are deemed identical or substitutes for consumption, then they should be under the same base item; see below examples:
EXAMPLE 1: If a restaurant group uses "Milk" as a non-key ingredient for a recipe, then it makes sense to put several package items with different milk brands/types under the same base item. In this way, for base item "Milk", you may have package item "Milk Almarai low-fat 1.5L Box" co-existing with base item "Milk Al Rawabi full-fat 1.5L Box". This is under the assumption that the type/brand of milk does not matter when consuming it. However, if milk is being used as a key ingredient (e.g. in a coffee bar), then it is recommended to create a base item for every type of specific milk; you may end up with a list of base items looking like:
Base item 1: "Low-fat Cow Milk"
Base item 2: "Full Cream Cow Milk"
Base item 3: "Rice Milk"
Base item 4: "Soya Milk"
Each of those base items will then have its specific package items in which those base items are purchased
EXAMPLE 2: When it comes to meat, it is usual to see a large list of very specific base items, especially if meat is a key ingredient (e.g. for steak houses); you may see something like:
Base item 1: "Wagyu Beef Tenderloin MB7+"
Base item 2: "Wagyu Beef Tenderloin MB6"
Base item 3: "Wagyu Beef Tenderloin MB6 Grainfed"
The above situation is very normal, considered that these meats are considered as non-substitutable and each have their own prices for customers.
EXAMPLE 3: If the brand of the item matters for the consumption, it is recommended to put the brand name into the base item name. For example you may think to have one base item "Hot Sauce" under which you want to put "Sriracha" and "Tabasco" but it would likely be a mistake to do so because they are used quite differently in recipes. Hence, in the above example, you would rather end up with these base items:
Base item 1: "Sriracha Hot Sauce
Base item 2: "Tabasco Hot Sauce"
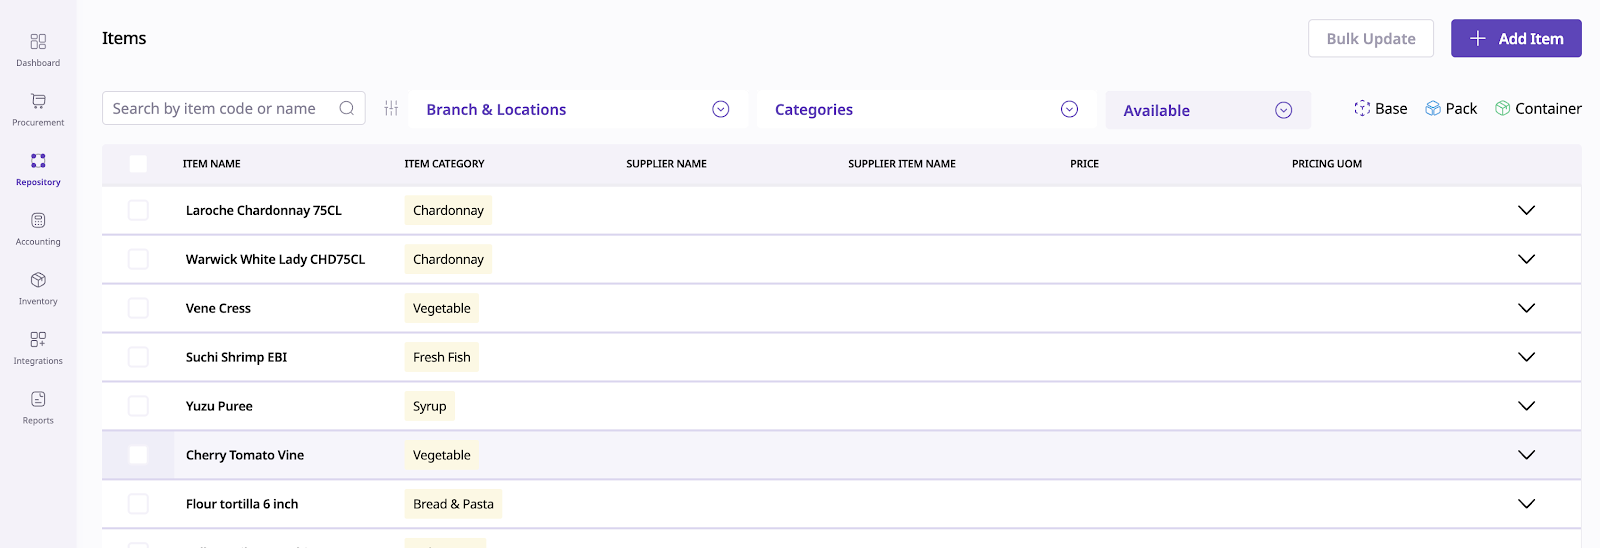
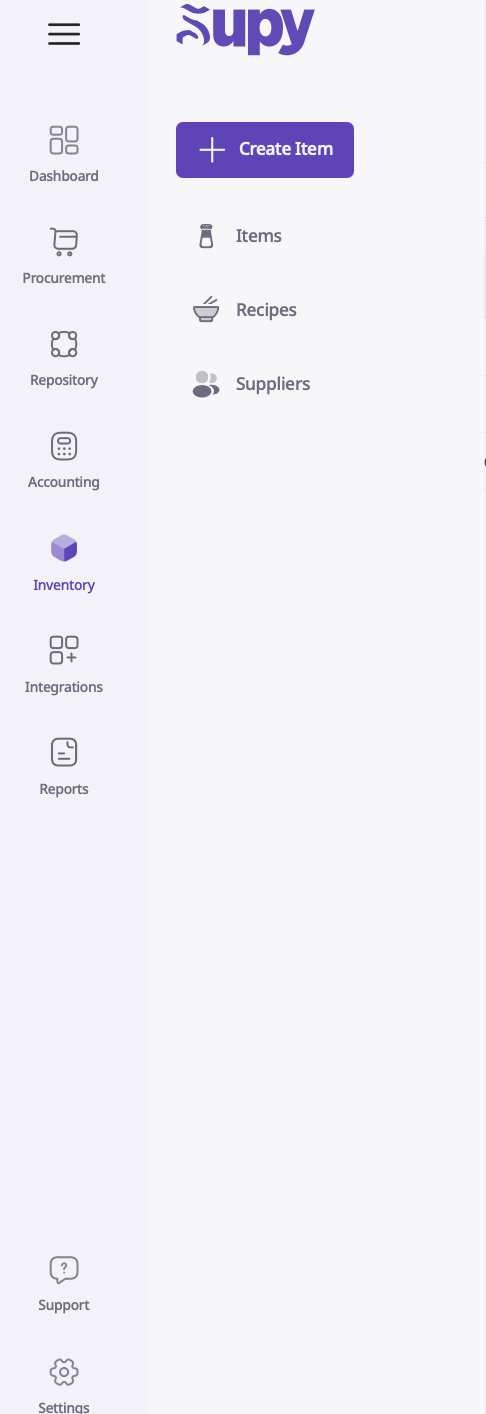
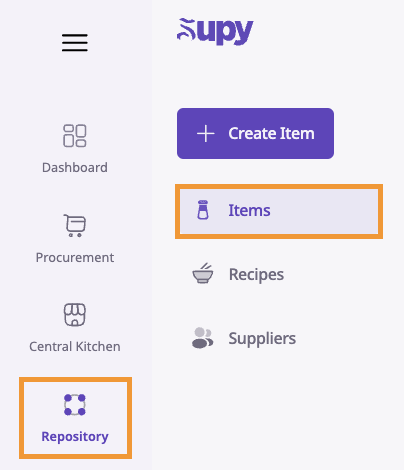
Upon logging into your retail portal, navigate to the 'Repository' tab and click on 'Items'.
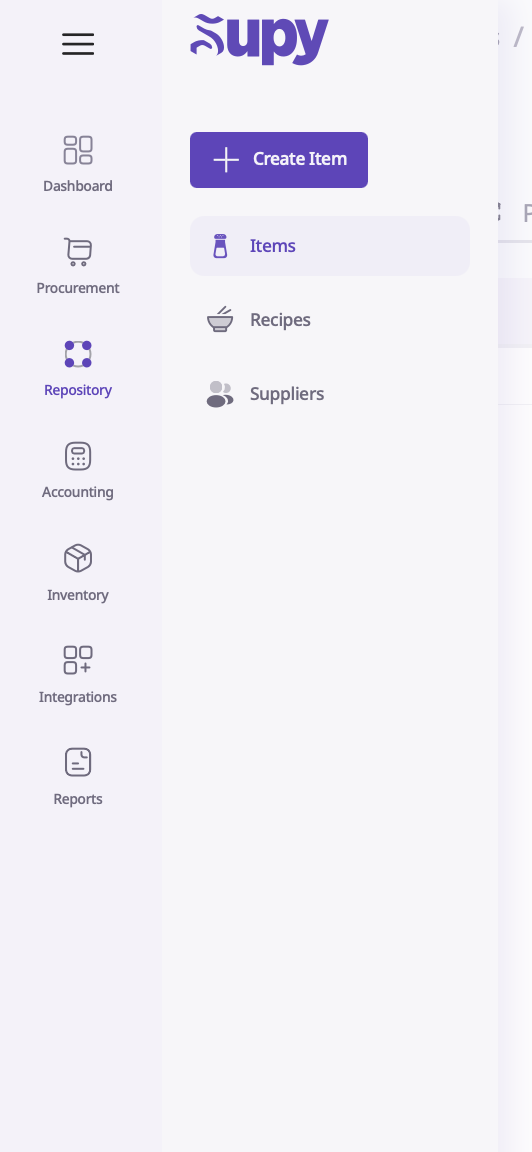
Doing so will display a list of base items for this retailer; clicking on any row will open the item detail page.
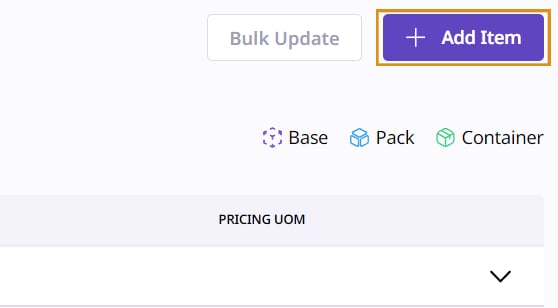
To create a new base item, click on the ‘Add Item’ button located in the top right corner of the screen.
After clicking ‘Add Item’, you will be greeted with 5 tabs:
Item Details
Packaging
Suppliers
Inventory
Recipes
This is where you define the base item details; these details will apply to all package items created under this base item:
Base Item Name (En) [mandatory]
Base Item Name (Ar) [optional]
Item Code [mandatory but default item code is system-generated]
Item Category [optional]
Accounting Category [optional]

The ‘Category’ option helps organize and order your items, while the 'Accounting Category' section provides analytical data from an accounting standpoint (For example, the Accounting Category can be used to see where the most or least money is being spent).
Below the ‘Basic Details’, you have ‘Active Locations’, which indicates which locations (= cost centers / inventories) your item will be stored. You can specify the active locations where the item can be used.
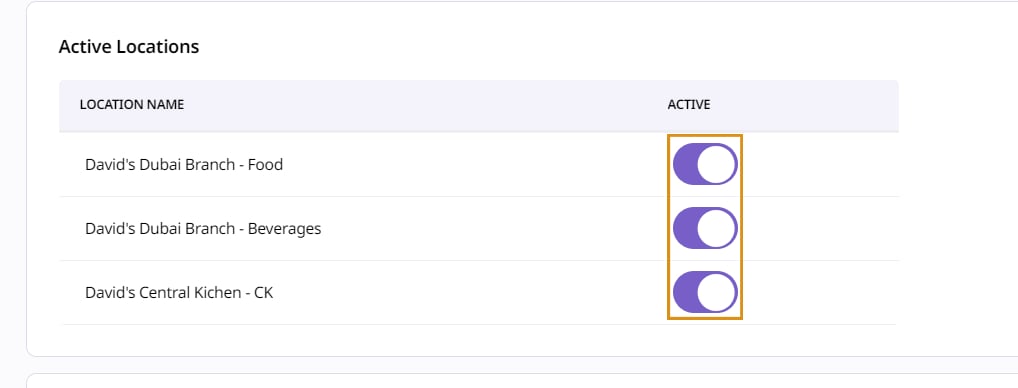
When you are finished, click ‘Save & Go to Packaging’ in the bottom right side of the screen.

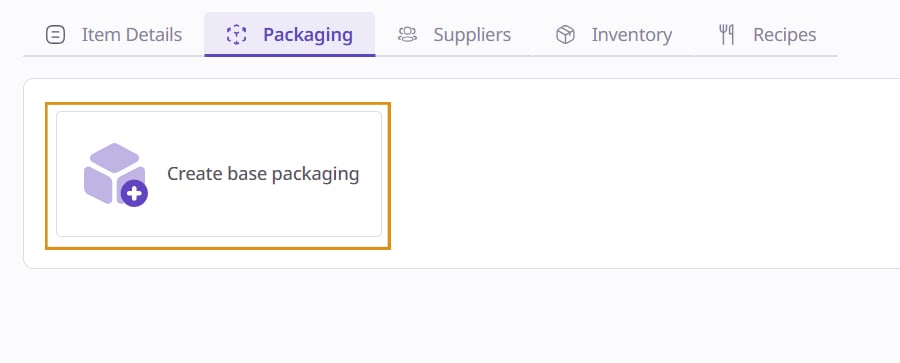
Within the "Packaging" tab, you can create all the package items you want under this base item. When you create your first package item (= base packaging), you must define the "Base Unit", which is the unit of measurement (UOM) by which you will store and consume this base item (e.g. "Kg" or "L") This "Base Unit" will always be the same for any other package items.
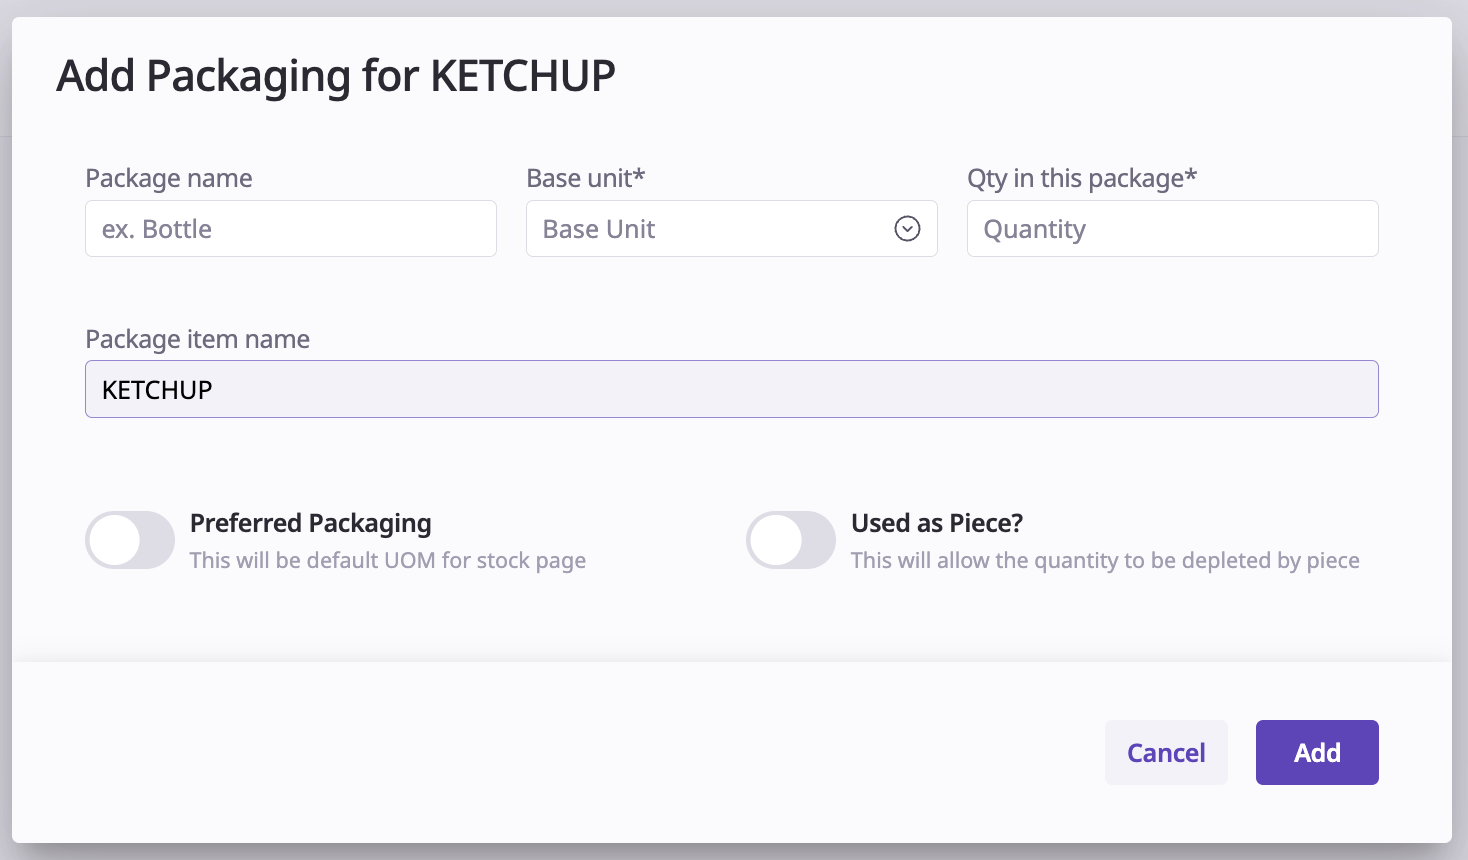
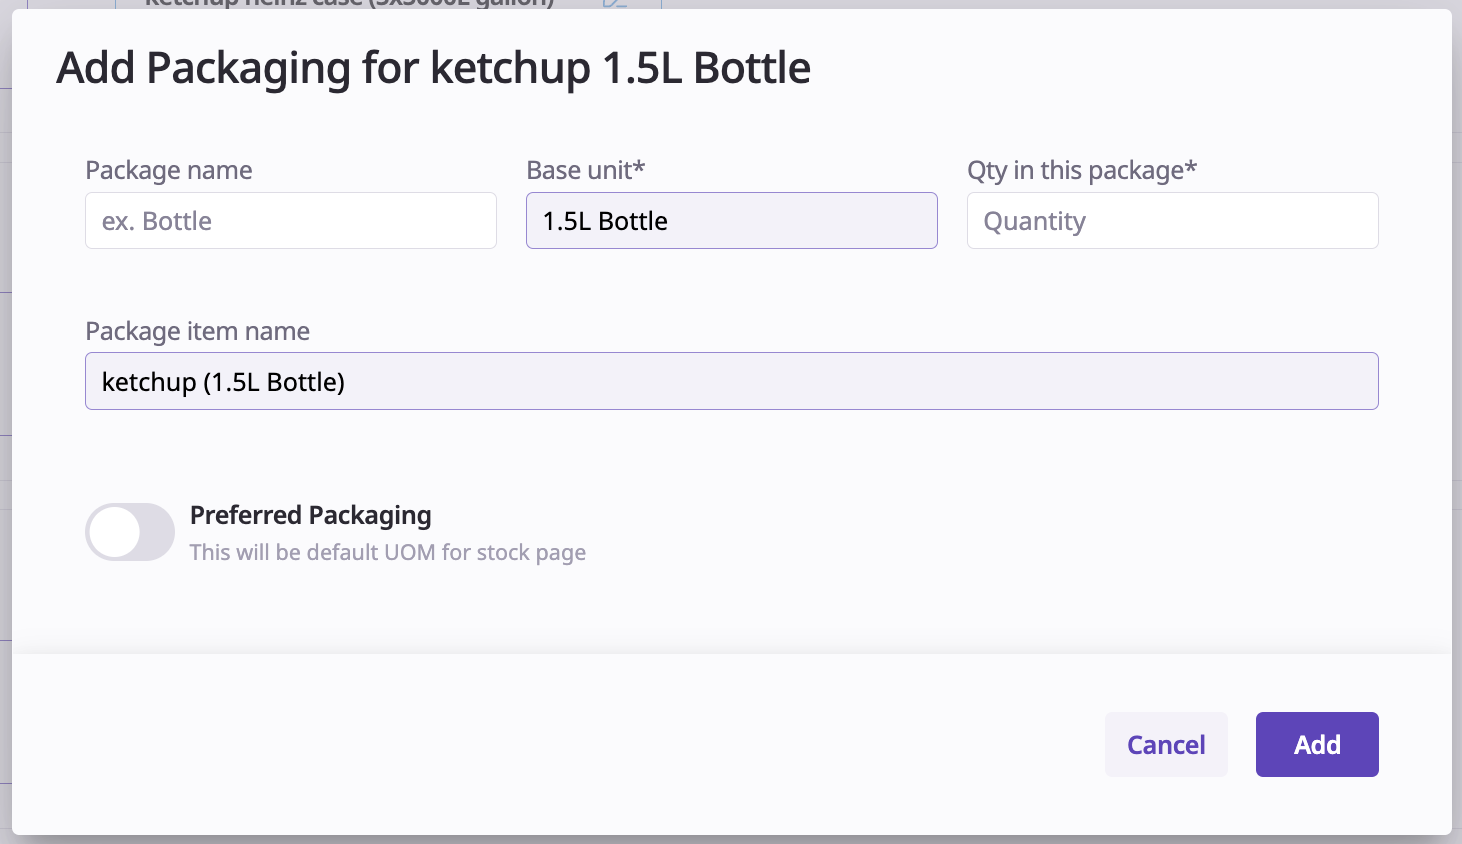
Creating this first package item can be done by entering the following details:
Base Unit [mandatory]
As discussed above
Qty in this package [mandatory]
= the numerical quantity, as expressed by Base Unit, that this first package item contains (e.g. "1.5")
Package Name [optional]
= an optional description for this package item (e.g. "Box" or "Case")
Preferred Package (YES or NO) [optional]
= this toggle is for reporting purposes: to view base item quantity by this package by default (e.g. if package item is "ketchup 1.5L bottle", then the stock page will show quantity "2" and UOM "1.5L bottle" if there is 3 liter of ketchup in stock).
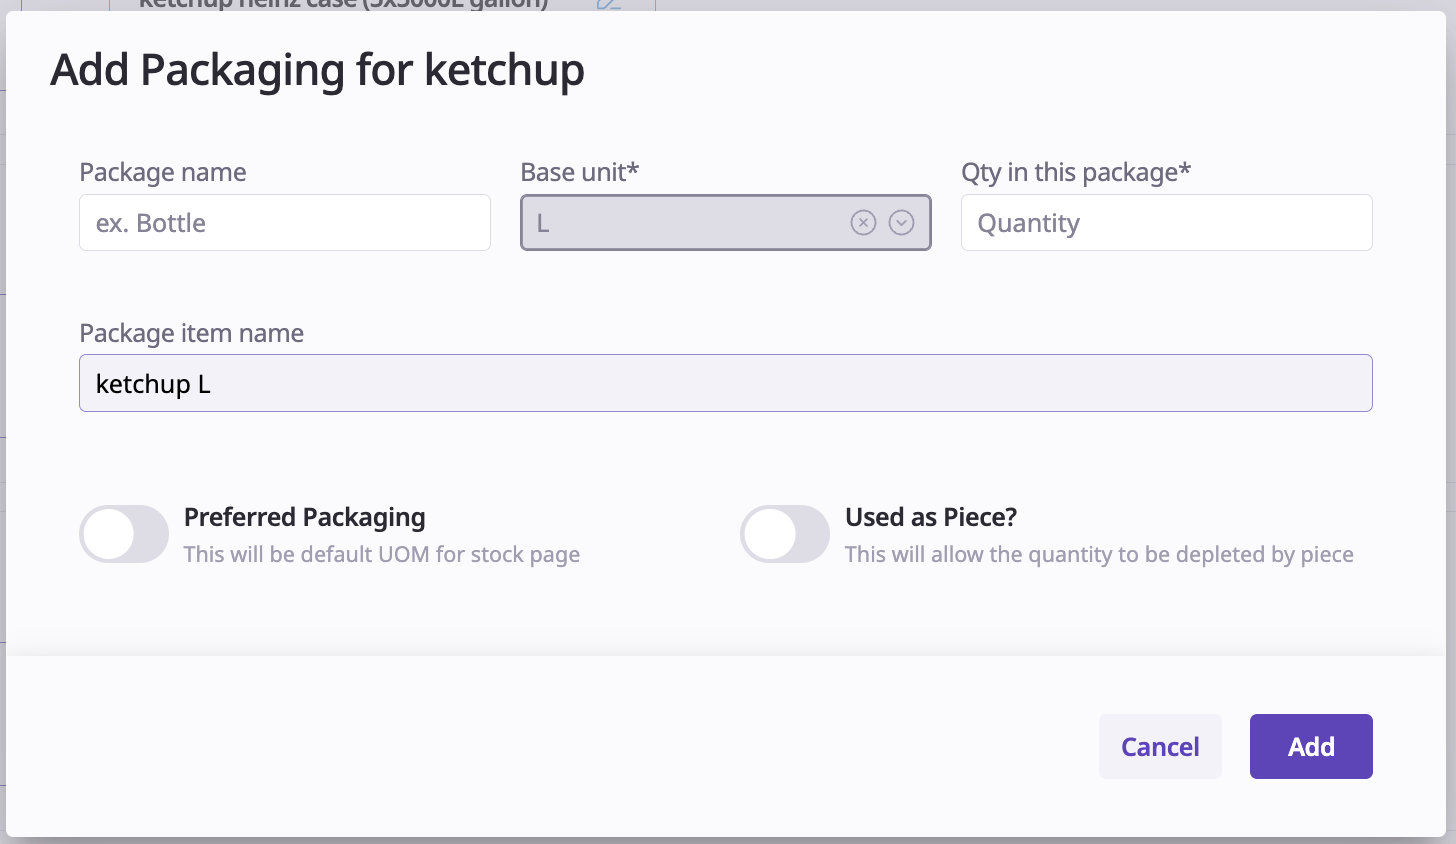
Used as Piece? (YES or NO) [optional]
= when setting this to YES, then this first package item itself will become the "Base Unit" of this base item. (e.g. if a restaurant purchases 330ml coca cola cans for the sole purpose of selling those "as a piece", meaning they sell the whole can and they don't consume the base item "Coca Cola" per ml, then a base item "Coca Cola 330ml can" would be created and this setting will be YES. In such a case, the base item "Coca Cola" will be consumed by "Piece" and one such piece will equal 330ml).
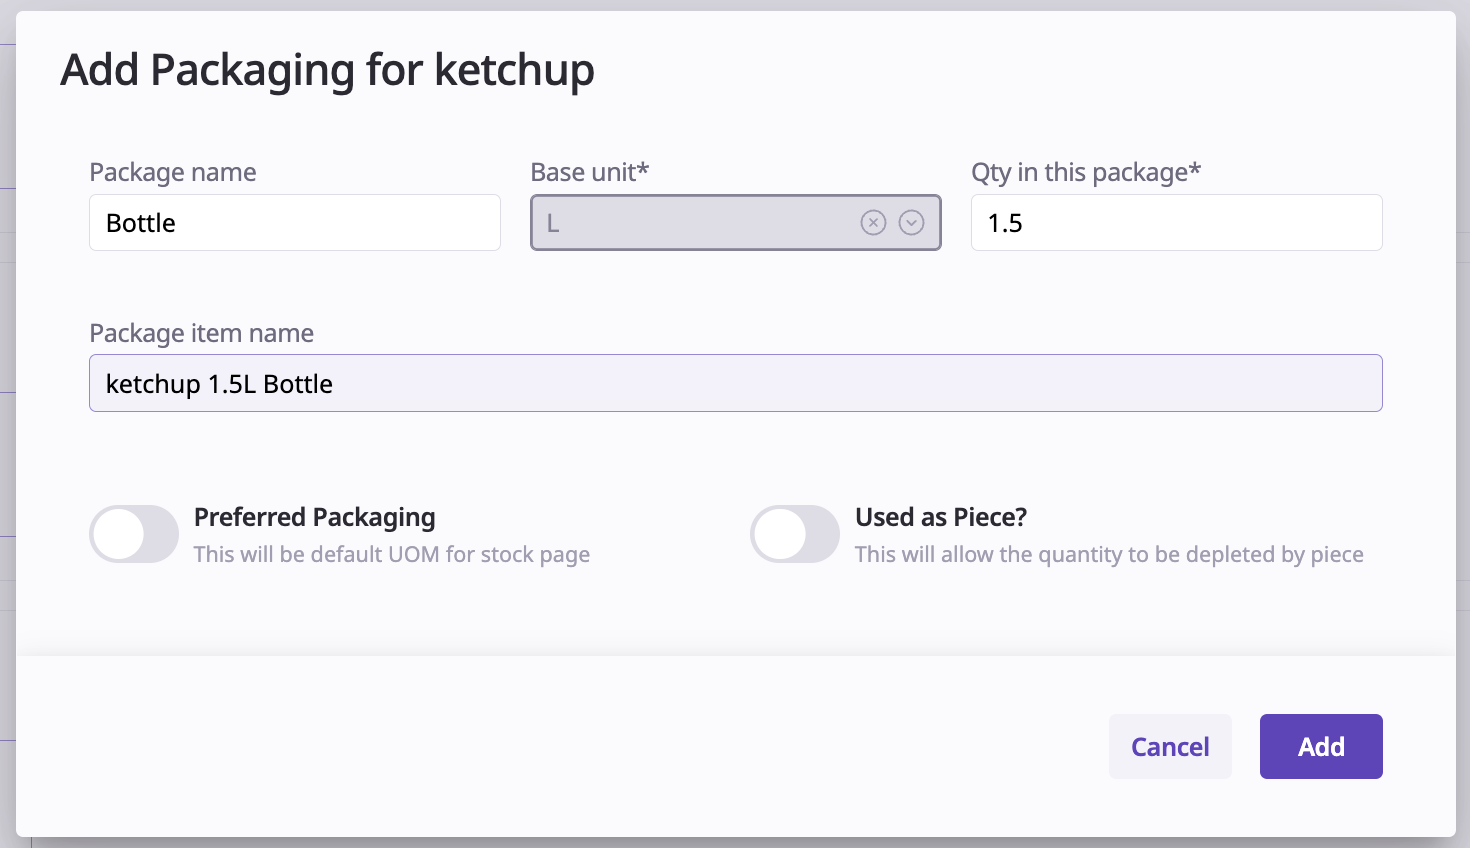
When entering the above-mentioned inputs, note that the field "Package item name" will get populated with a mix of your inputs and the base item name to provide a display of how the package item will look like; see example in the above screenshot.
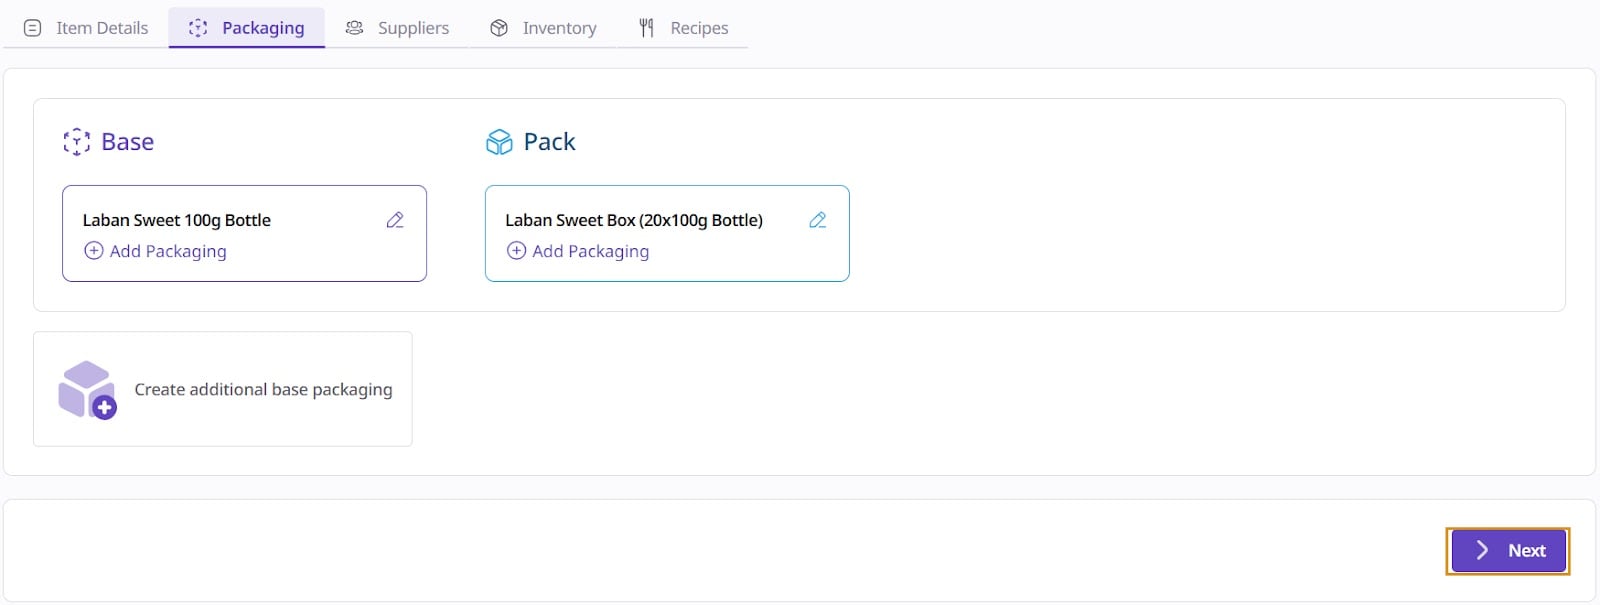
Once the first package item (base packaging) has been created, the user can create additional package items in the following two ways:
Case 1: Create an additional package on top of the first base packaging
creating a package item which is a multiple of the first base packaging
Case 2: Create another base packaging
create another base packaging but with the same "Base Unit" which was defined previously
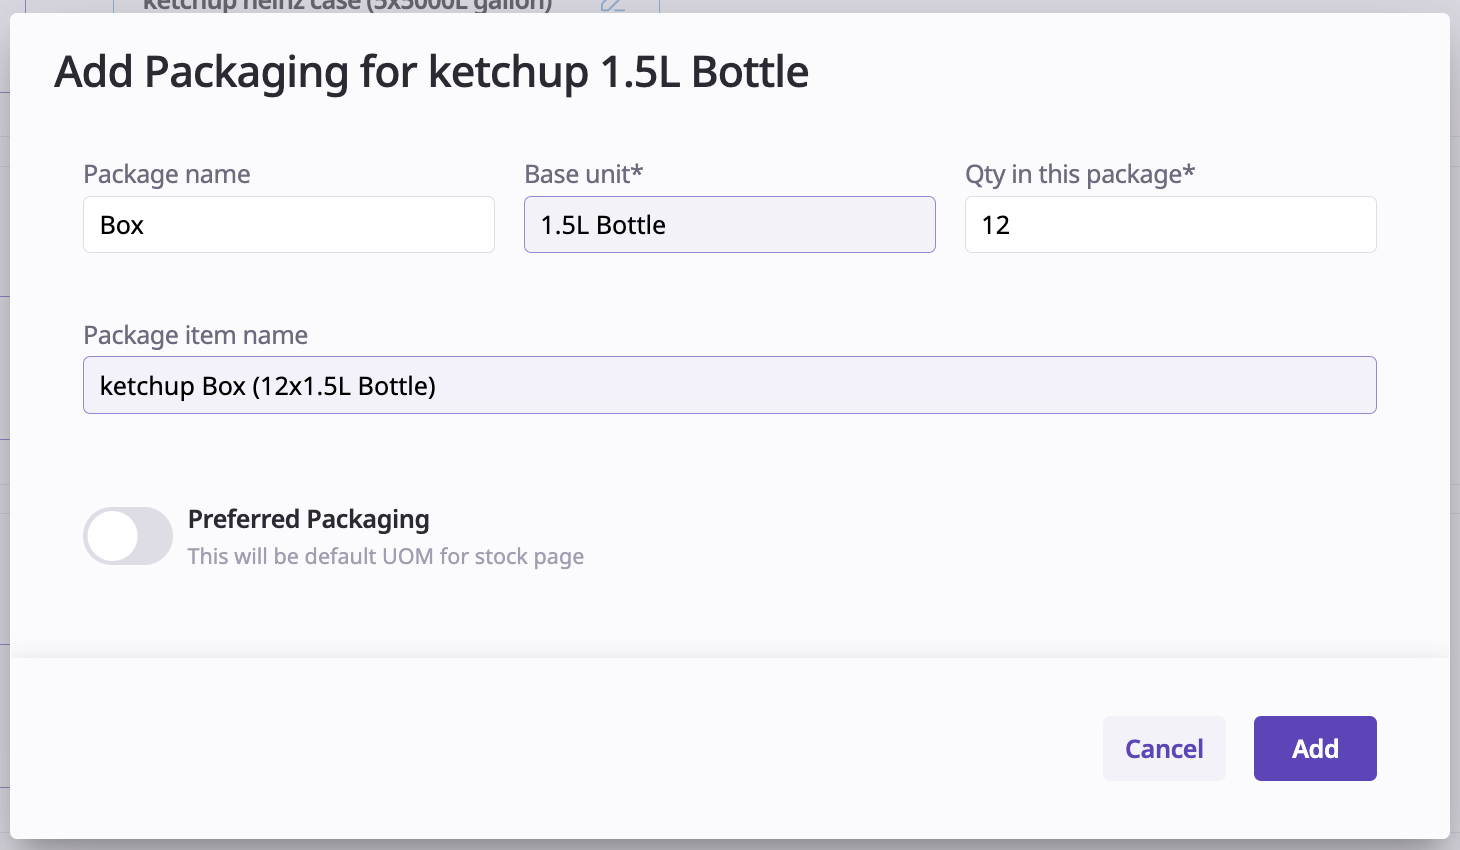
Clicking the ‘Add Packaging’ option on the Base Packaging allows you to make a pack for that Base Package.
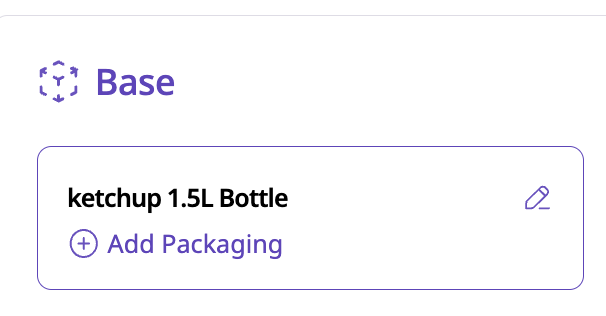
As can be seen in the below screenshot's example, this will take the base package as the Base Unit for this package.
By now adding the "Qty in this package" and an optional "Package name", this allows us to create a new package item which is a multiple of the base packaging; see example below:
When clicking on "Create additional base packaging", the user can create another base packaging but following the same "Base Unit" as previously used.
Same process as before but the "Base Unit" is already selected and cannot be changed.
When all relevant package items have been created, proceed by clicking "Next" and going to the "Suppliers" tab.
At the ‘Suppliers’ tab, package items are linked to suppliers that sell those items.
Click the plus symbol to add a new supplier for the item.

On the selection that appears, click the button to select your Package item and Supplier name from the dropdown.

After clicking your ‘Package Item Name’ and ‘Supplier Name’, select a ‘Supplier Item Name’. The ‘Supplier Item Name’ is how the supplier will understand what you need and how the item name will be written on your LPO (= the document attached to the purchase order email). Note that if this is left blank, it will be populated by the package item name.

If you have a Supplier Item Code, you can fill that out in that field. This will also appear on the LPO for the supplier.

Fill out the "Pricing UOM" and the "Price (AED)" fields. The ‘Pricing UOM’ is used to specify to what unit of measurement the price applies. See below for an example of how the package item "Ketchup 1.5L Bottle" has a "Pricing UOM" of L, meaning that the price provided by the supplier is 10 AED per liter. This means that the price for the bottle of 1.5L of ketchup is 15 AED, which is shown in the column "Total Price / Package item".

If there are other suppliers for that same product or other packages of the same item that the supplier sells, you can press the plus icon to add a new supplier.

If the same package item is purchased from multiple suppliers, you can indicate exactly 1 "priority" supplier with the checkboxes indicated below. When orders are submitted by category, the approver will see the priority supplier shown as the default option.

When you finish setting up suppliers, save your selection and move to the ‘Inventory’ tab by clicking on "Save".

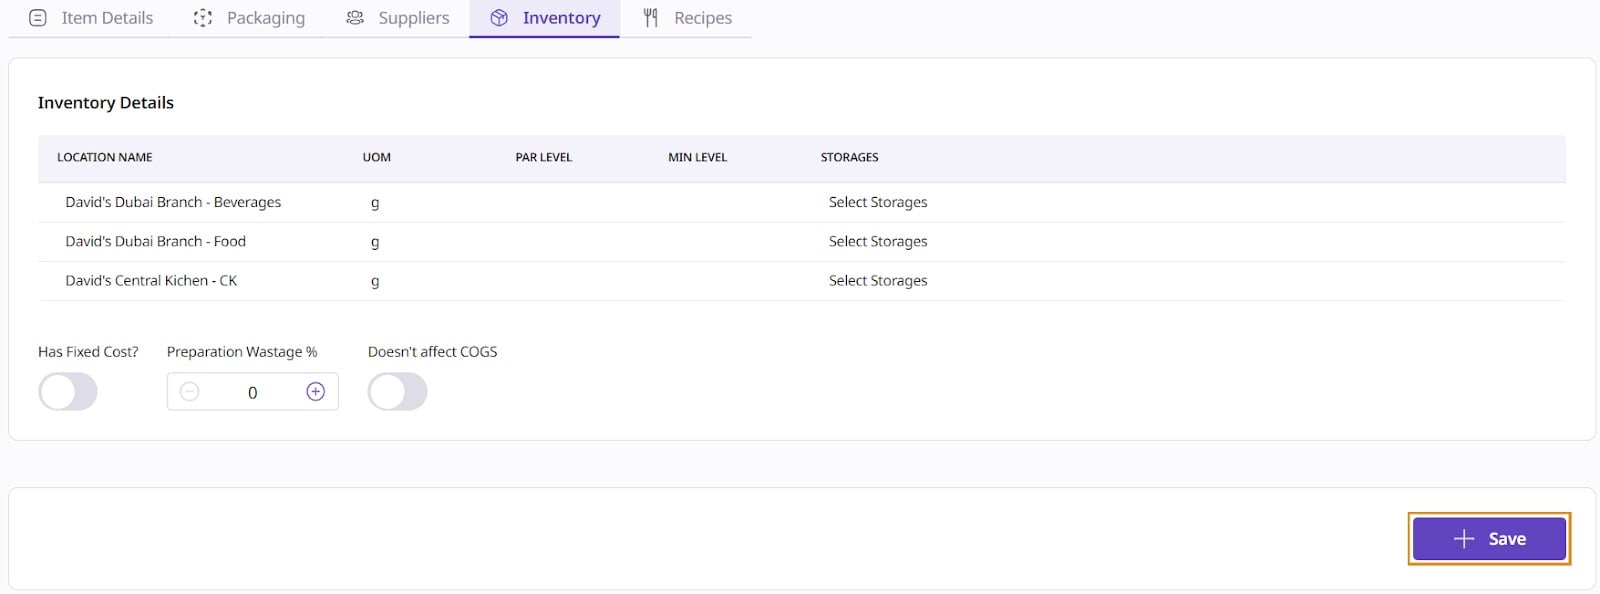
The Inventory tab will bring up a list of all of the active locations. All of the active locations will be the ones you set up in the ‘Item Details’.
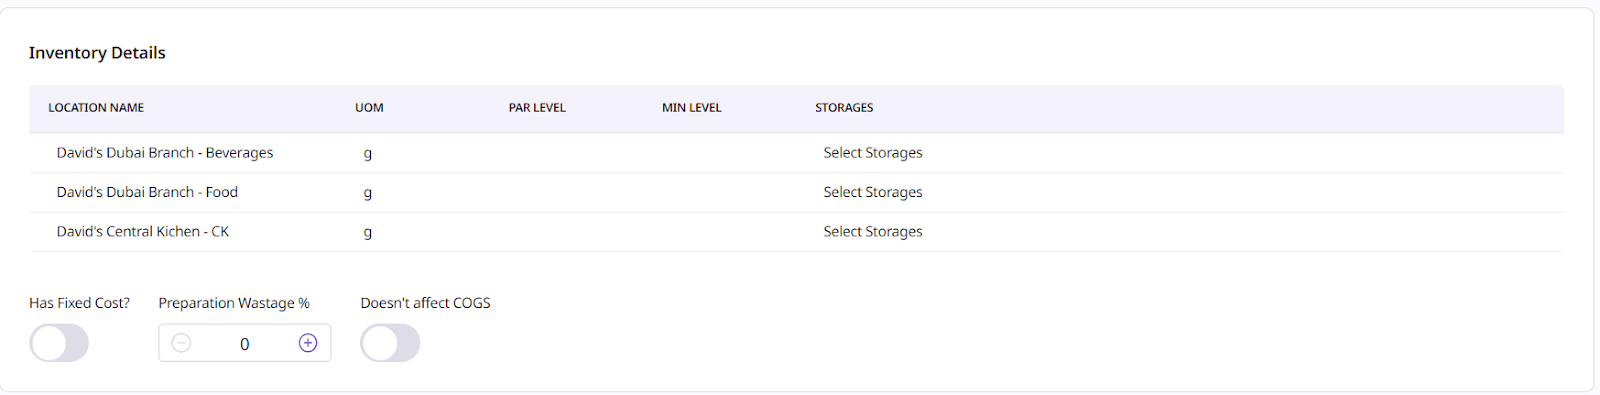
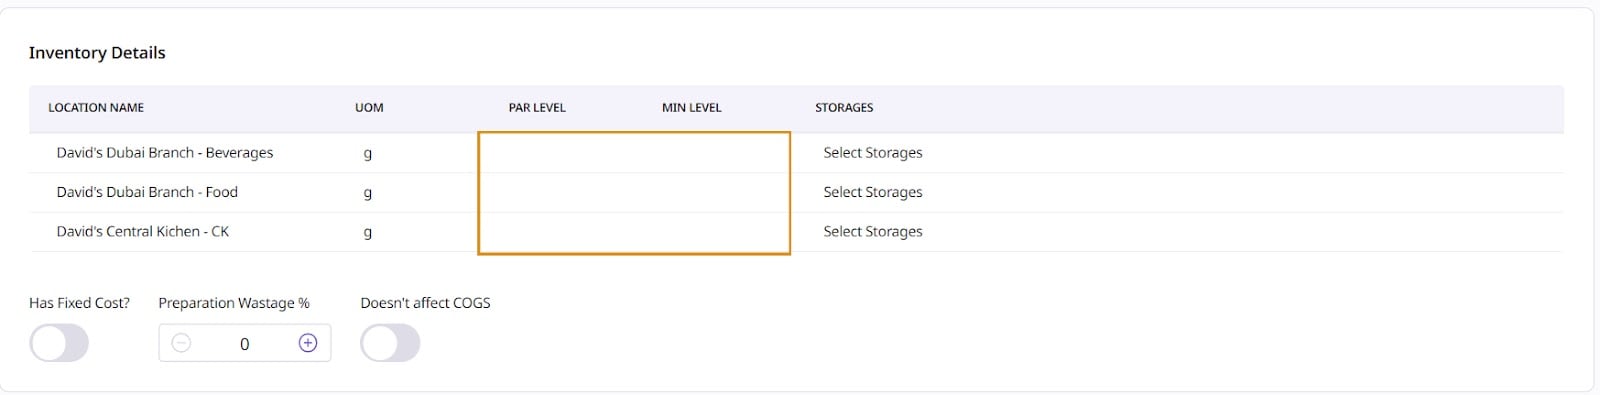
Here, you may set up a Par Level and a Minimum Level for each location:
Minimum level: the minimum quantity that should be present for this base item in this location at all times
Par level: the optimal quantity that should be present for this base item for this location; when ordering this item for this location, you can choose to "order to par", meaning that you order the exact quantity to be added to your current stock to obtain this "par level"
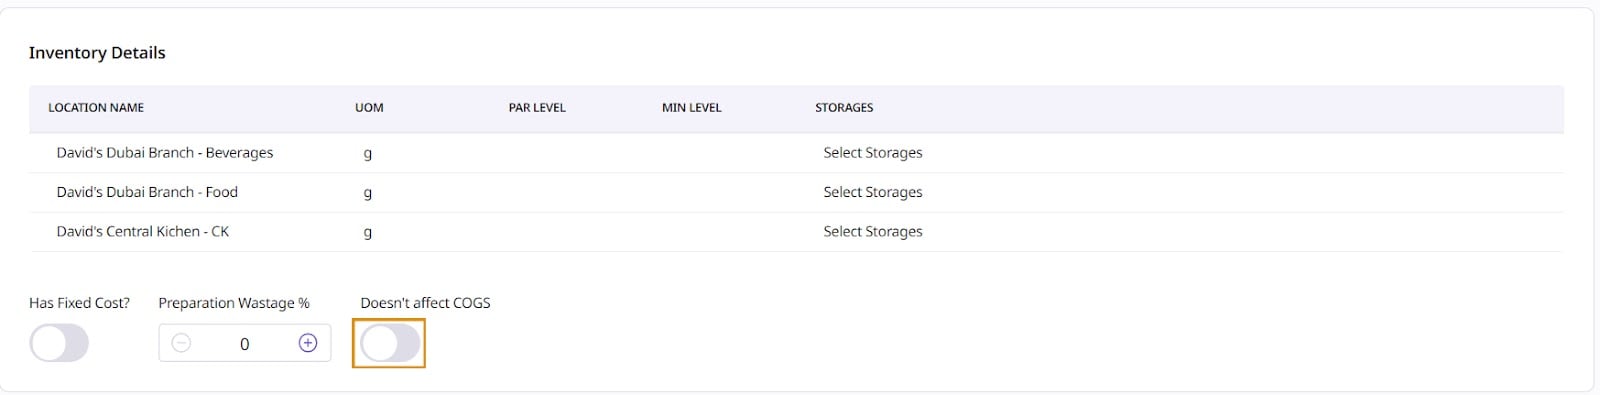
There will also be an option to select whether the goods have a fixed price (for reporting purposes) and a default "Preparation Wastage %" when consuming this base item in a recipe; the latter can be modified for each recipe in which this base item is consumed.
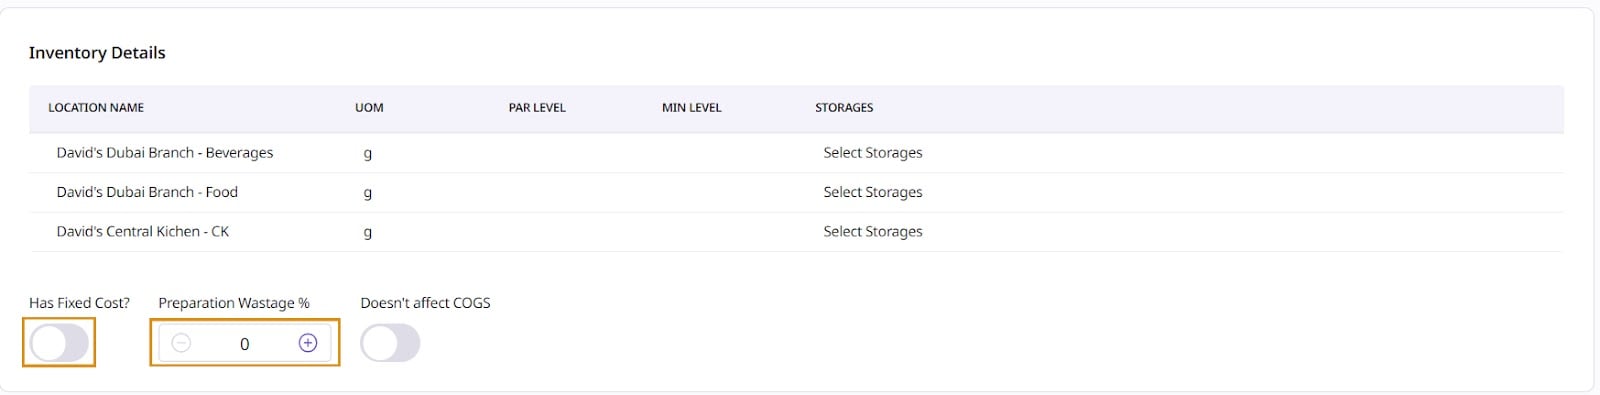
By selecting the option "Doesn't affect COGS", you will exclude this item's cost from the COGS reporting (Cost of Goods Sold); the item cost will be categorized as "Expense" instead.
Save your settings and proceed to the "Recipes" tab.
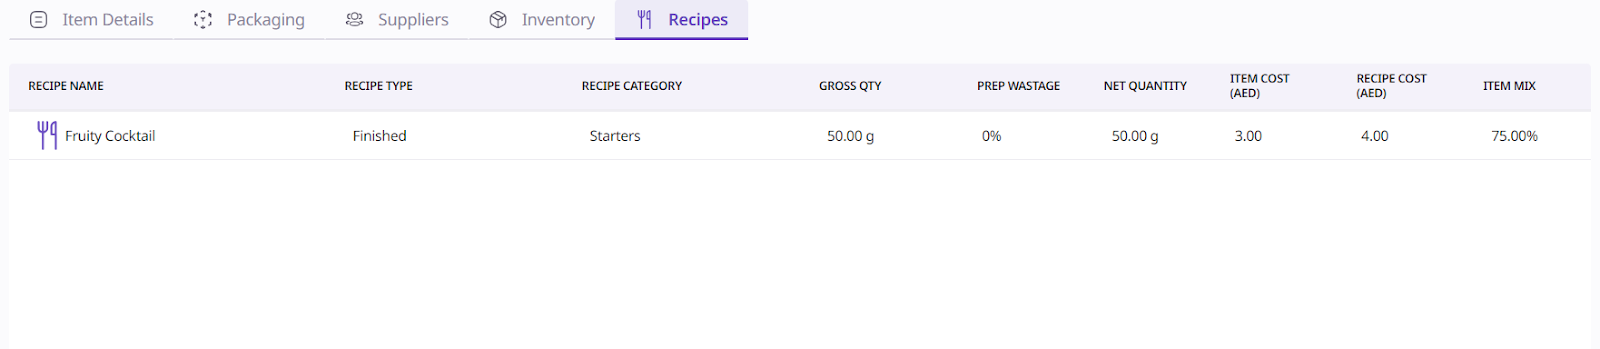
The "Recipes" tab displays a list of all recipes that include the item. Additional information about the recipes will also be displayed related to costing and preparation.
Go to your retailer portal, and access the item list by going to Repository -> Items
From there, you'll be able to access the list of all your items in the system.
Select which items you want to apply an action to, then go to the Actions button to apply a new action.
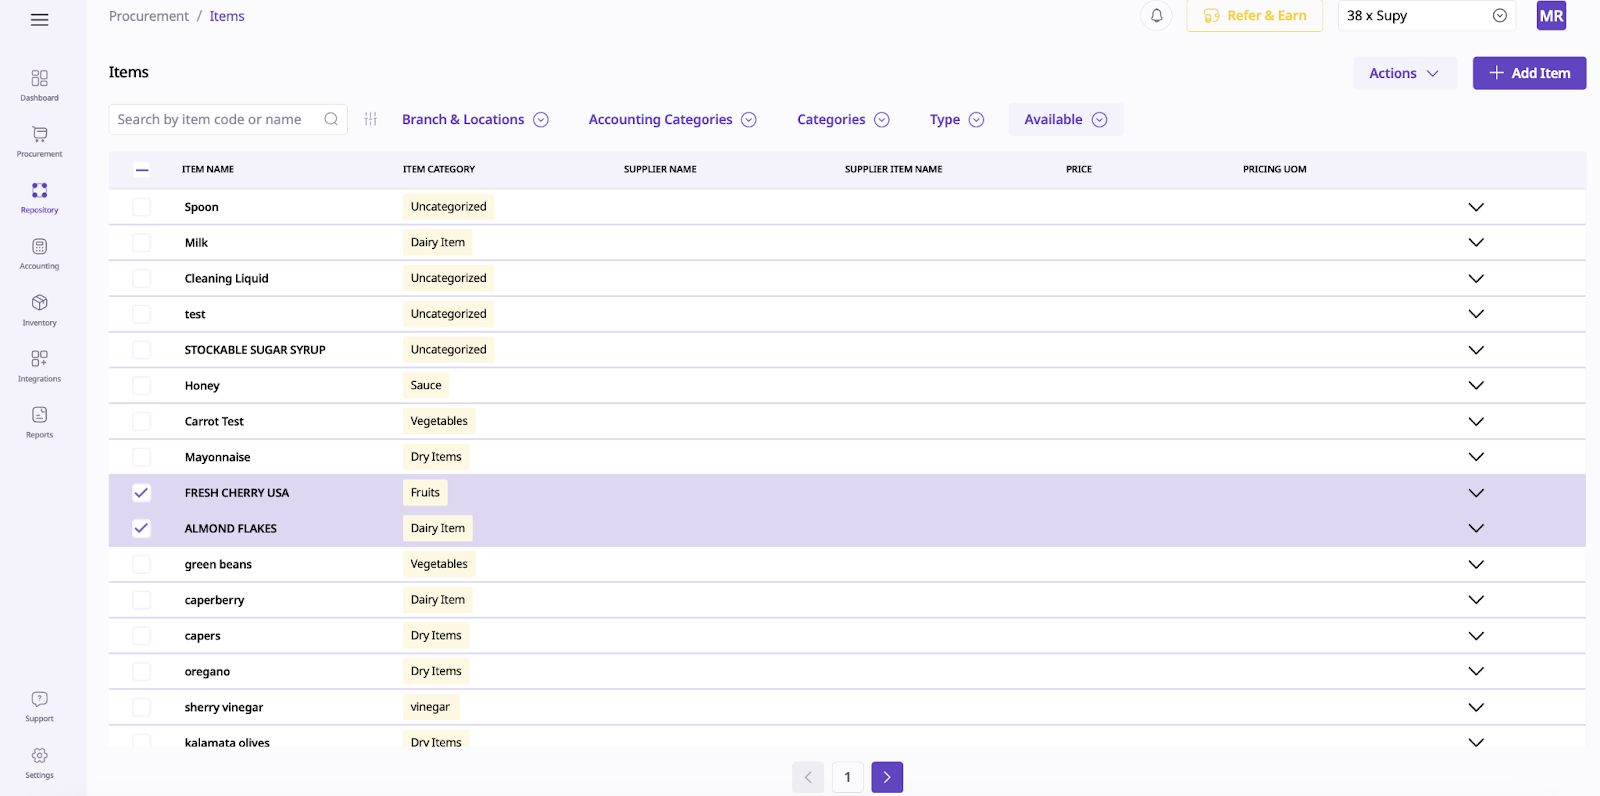
Streamline your inventory management with these powerful bulk actions:
Export
Extract and download data in bulk as Excel files for external analysis, reporting, or archiving
Enhances data accessibility and integration with external tools
Process: Select data, click Actions, then Export
Merge Items
Consolidate duplicate items to improve data accuracy and optimize inventory management
Simplifies databases, enhances searchability, and ensures reliable reporting
Process: Select similar items and merge into a single record
Add to Locations
Allocate multiple items to specific locations across branches or storage areas
Optimizes stock management and improves operational efficiency
Process: Select items and designate target locations
Replace Locations
Facilitate large-scale inventory transfers between branches or warehouses
Simplifies inventory management and ensures optimal stock distribution
Process: Select items and specify new destination locations
Change State
Update the status of multiple items (e.g., active, archived) to maintain accurate inventory records
Enhances inventory visibility and helps track item lifecycle
Process: Select items and specify desired state changes
Assign Categories
Organize inventory by assigning items to predefined categories and subcategories
Streamlines navigation and improves reporting accuracy
Process: Select items and assign to relevant categories
Assign Accounting Categories
Categorize items for accurate financial tracking and reporting
Ensures alignment with financial reporting requirements and regulatory compliance
Process: Select items and assign to predefined accounting categories
Set Par Levels
Establish minimum inventory thresholds to prevent stockouts and optimize stock levels
Enhances operational efficiency and minimizes disruptions
Process: Specify par levels for items to maintain optimal stock and automate replenishment
By leveraging these bulk actions, you can significantly improve your inventory management processes, enhance data accuracy, and streamline operations across your organization.