The user interface of Supy’s inventory management system is designed to be intuitive and efficient, making it ideal for quick service restaurants (QSRs) and multi-brand, multi-location businesses.
Retailer: This serves as the primary entity within the Supy platform, representing your distinct operational environment. It is the platform's equivalent of a "tenant" in other software systems and typically encapsulates the identity of a restaurant group or holding company.
Branch: This designation corresponds to an individual outlet, establishment, or physical location within the restaurant group's purview. Under a single retailer, there can be one or multiple branches, each denoting a specific restaurant location.
Location: At the lowest level of the hierarchy, "Location" designates a precise inventory or cost center within a branch. Each branch can have a singular location or multiple locations, depending on your requirements. Multiple locations allow for the division of inventories and operational data within the branch. For instance, "Location 1" might represent "FOOD," while "Location 2" could denote "BEVERAGES." This distinction helps to efficiently manage and track inventory items and costs.
You cannot modify your account structure yourself (add/remove/edit retailers, branches and locations); you must reach out to Supy's support team or your account manager for any changes.
A user on Supy is assigned to one or multiple locations, limiting his actions and access to operational data to those specific locations only. A user can be part of locations across retailers. If it has the role "manager" and is assigned to one location of a retailer, it is automatically added to all locations in all branches of the retailer.
When you are navigating on Supy's portal, you are always navigating within one retailer at a time. You can see the retailer name in the top-right corner dropdown from which you can switch retailers in case your user is part of multiple retailers
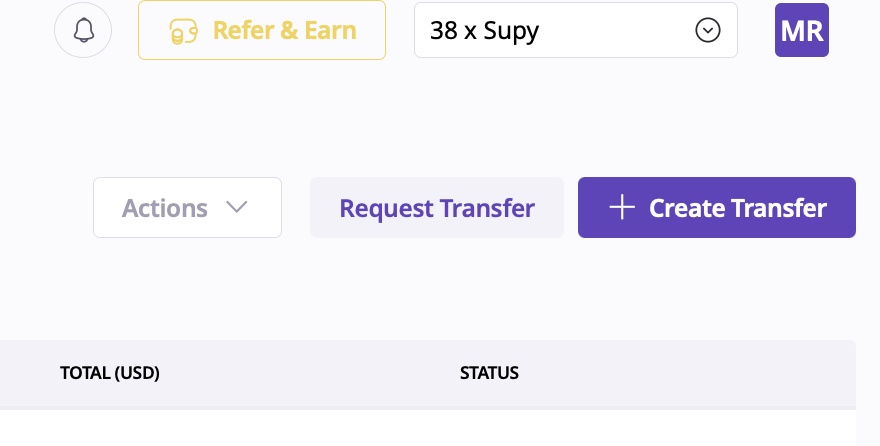
Key Features and Options
This section lists all incoming inventory transfers organized by:
Code: A unique identifier for each transfer event.
Transfer From/Transfer To: Indicates the source and destination branches or locations.
Transfer Date: The date the transfer was initiated or scheduled.
Total (AED): The total monetary value of the transferred items in AED (United Arab Emirates Dirham).
Status: Displays the current status of the transfer (e.g., Submitted, Received, Archived).
At the top of the table, there are several filtering and sorting options to help users manage transfer events efficiently:
Search by Event Code: Allows users to quickly locate a specific transfer using its unique code.
Branch & Locations: Filters transfer events based on specific branches or storage locations.
Choose Date Range: Enables users to narrow down transfers within a specific timeframe.
Status: Filters transfers by their current status (e.g., Submitted, Received, Archived).
The dropdown menu labeled "Actions" provides bulk action capabilities for managing multiple transfers simultaneously. Common actions include:
Exporting data for reporting purposes.
Archiving completed or irrelevant transfers.
Updating statuses or making other bulk edits.
This button allows users to initiate a new transfer request. It simplifies the process of moving inventory between locations by automating documentation and tracking.
The "Create Transfer" button enables users to manually set up a new transfer event, specifying details such as source, destination, items, and quantities.
The sidebar on the left provides access to various modules of the Supy platform:
Dashboard: Displays an overview of key metrics like inventory levels, sales, and procurement activities.
Procurement: Manages supplier orders and purchase requests.
Repository: Houses product catalogs and item details.
Accounting: Tracks financial data related to inventory costs and transfers.
Inventory: Includes sections like Incoming Transfers (current view), Outgoing Transfers, and Requested Transfers for comprehensive stock management.
Integrations: Connects Supy with external tools like accounting software or POS systems.
Reports: Provides detailed analytics on inventory movements, variances, and financial data.
Support: Offers assistance for troubleshooting or inquiries about platform usage.
Settings: Allows customization of account preferences, user roles, notifications, and system configurations.
While not directly visible in this screenshot, the account settings section typically includes:
User Management:
Add or remove users.
Assign roles (e.g., Admin, Manager, Clerk) with specific permissions.
Branch Configuration:
Define branch names and locations for seamless inventory tracking.
Notification Preferences:
Set alerts for low stock levels, transfer approvals, or discrepancies.
Integration Settings:
Connect third-party tools like accounting software (e.g., QuickBooks) or POS systems for enhanced functionality.
The interface is designed for ease of use with features like:
Clear table layouts for quick data review.
Interactive filters to simplify navigation across large datasets.
Bulk action capabilities to save time on repetitive tasks.
This setup ensures that users can efficiently manage inventory transfers while maintaining accuracy across multiple branches or locations.