Supy, our comprehensive inventory management system, now offers enhanced user roles and access configurations to streamline user management and optimize operational control. This Knowledge Base article provides an overview of the new roles and how to configure them within the Supy platform.
Open your Supy portal and go to Settings.
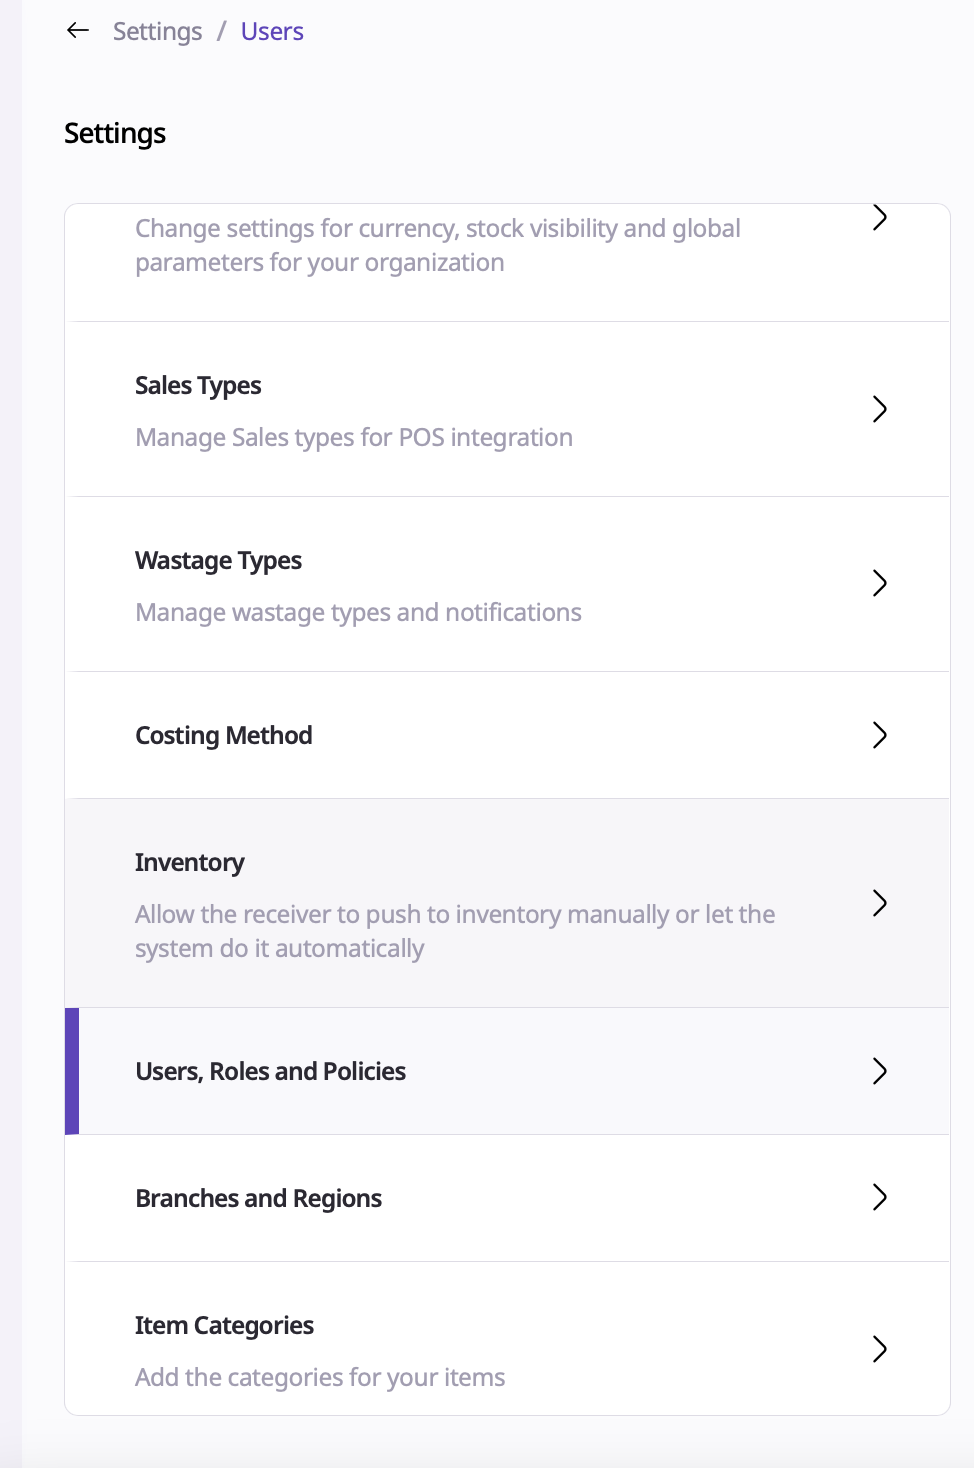
From here, click ‘Users, Roles and Policies’
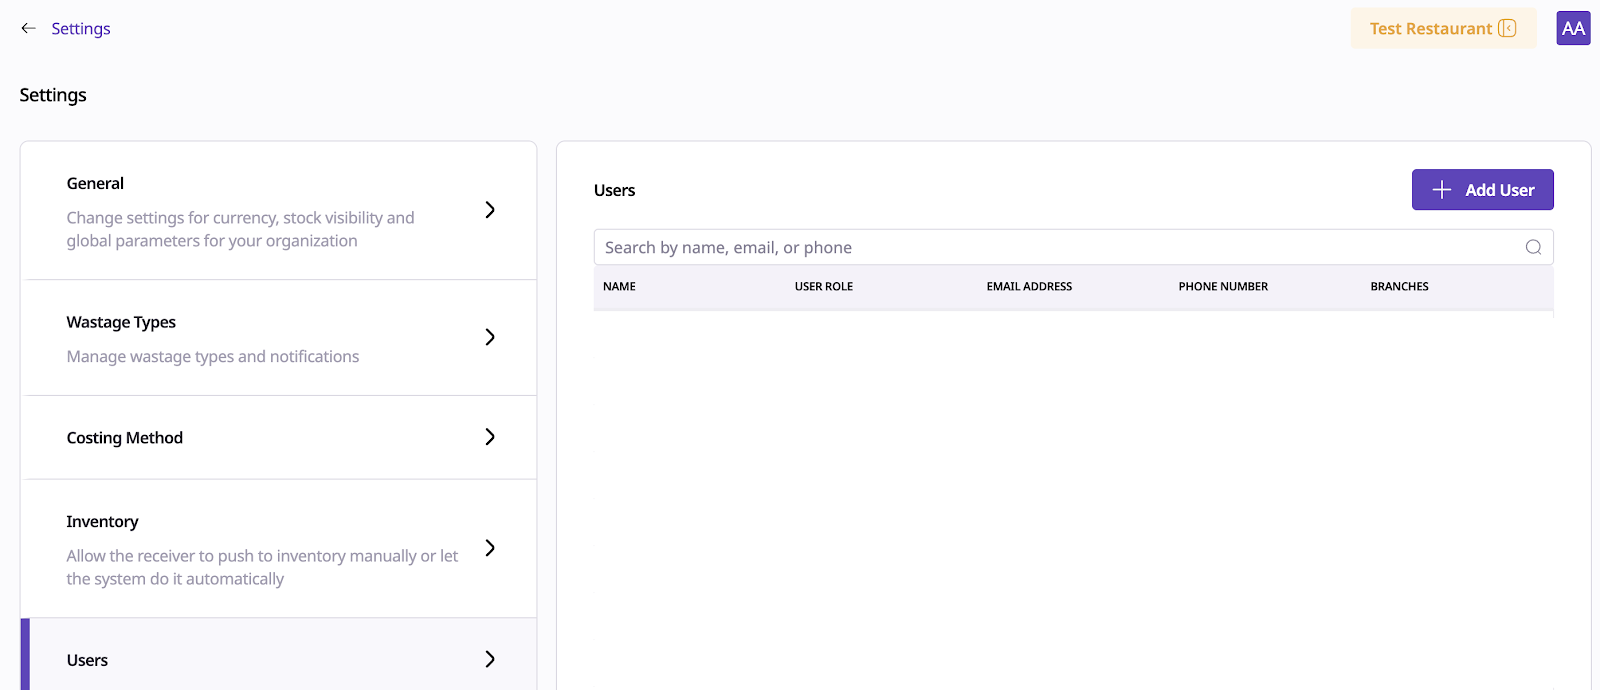
On this page, you will see an overview of all the users for this retailer where you can see their full name, user role, email address, phone number and count of locations they have access to.
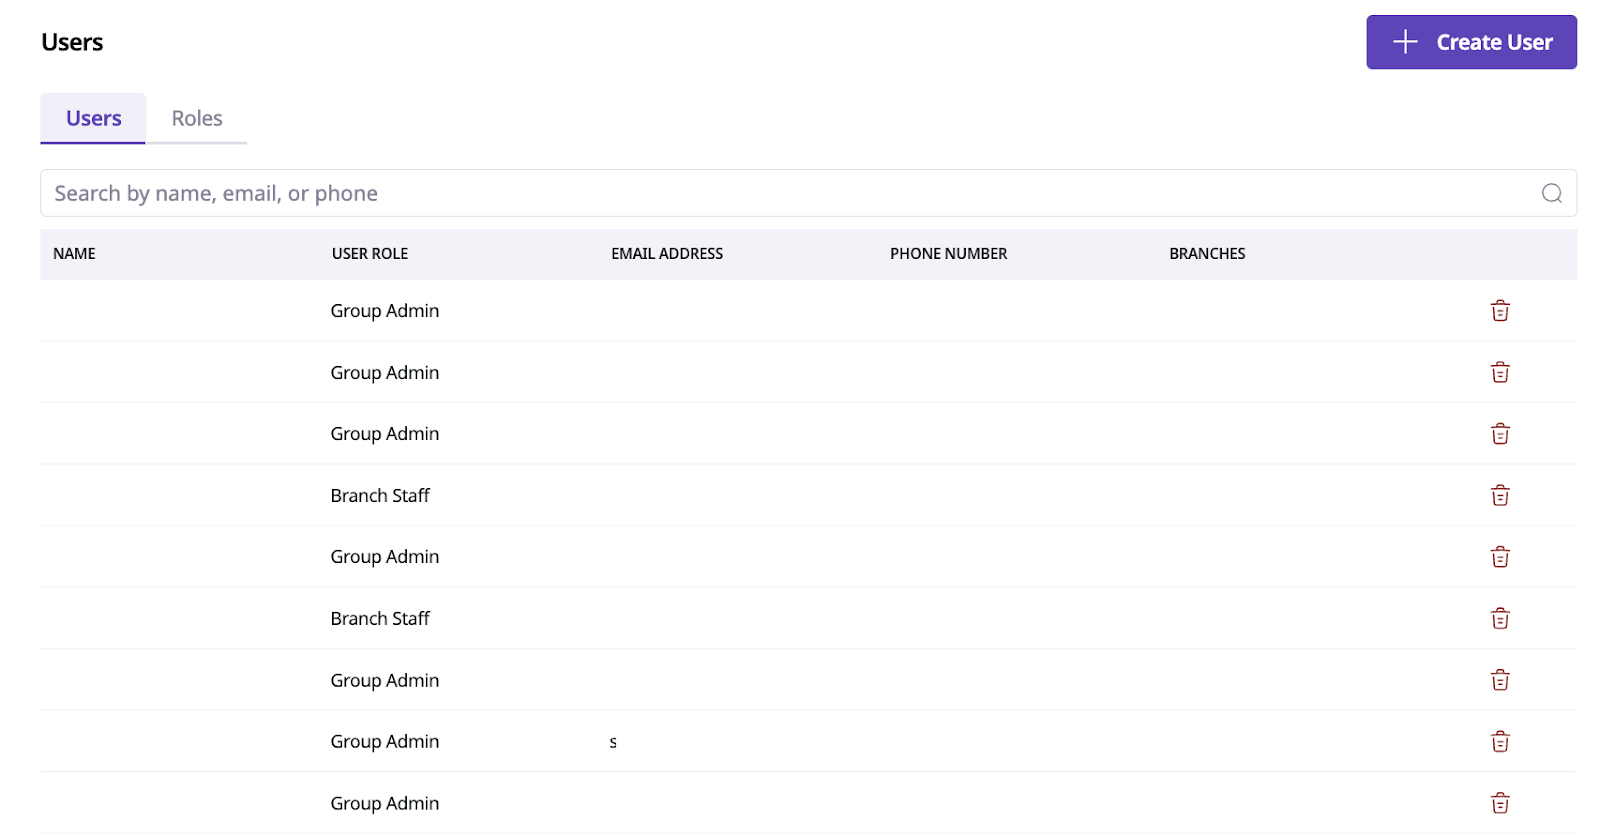
Clicking ‘Create User’ will bring you to a user creation setup with 3 sections:
User Details
Active Locations
User Configurations
In User Details, give the basic information about your new user:

First & last name: what appears on the portal / mobile app for this user
Phone number: can be used to log into the portal. Must be in valid phone number format with international country code.
Email address: can be used to log into the portal.
User role: the role which determines the permissions this user has.
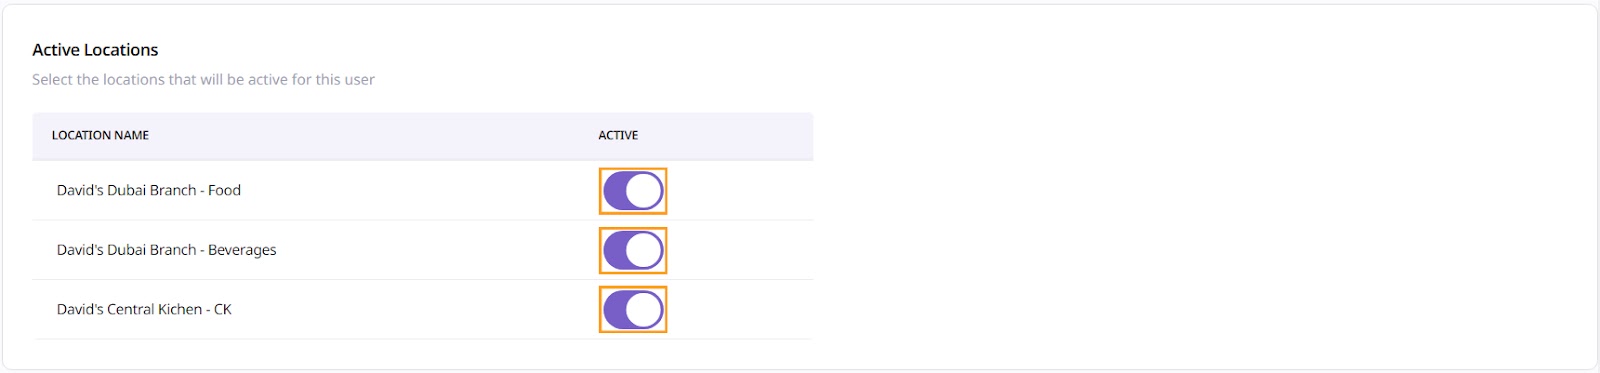
Active Locations is where you specify the locations that a user can access.
To activate or deactivate a location, check or uncheck the corresponding switches for each location.
Supy introduces two sets of default roles: Group Roles and Branch Roles.
Group Roles
Group Admin
Group Data Manager
Group Operations Manager
Branch Roles
Branch Staff
Branch Manager
Branch Drafter
Accounting User
Creating Custom Roles: Users can also create custom roles tailored to their specific needs. Here's how:
Navigate to Settings: Access the Settings menu within the Retailer Portal.
User & Roles: Click on "User & Roles" to access the user management settings.
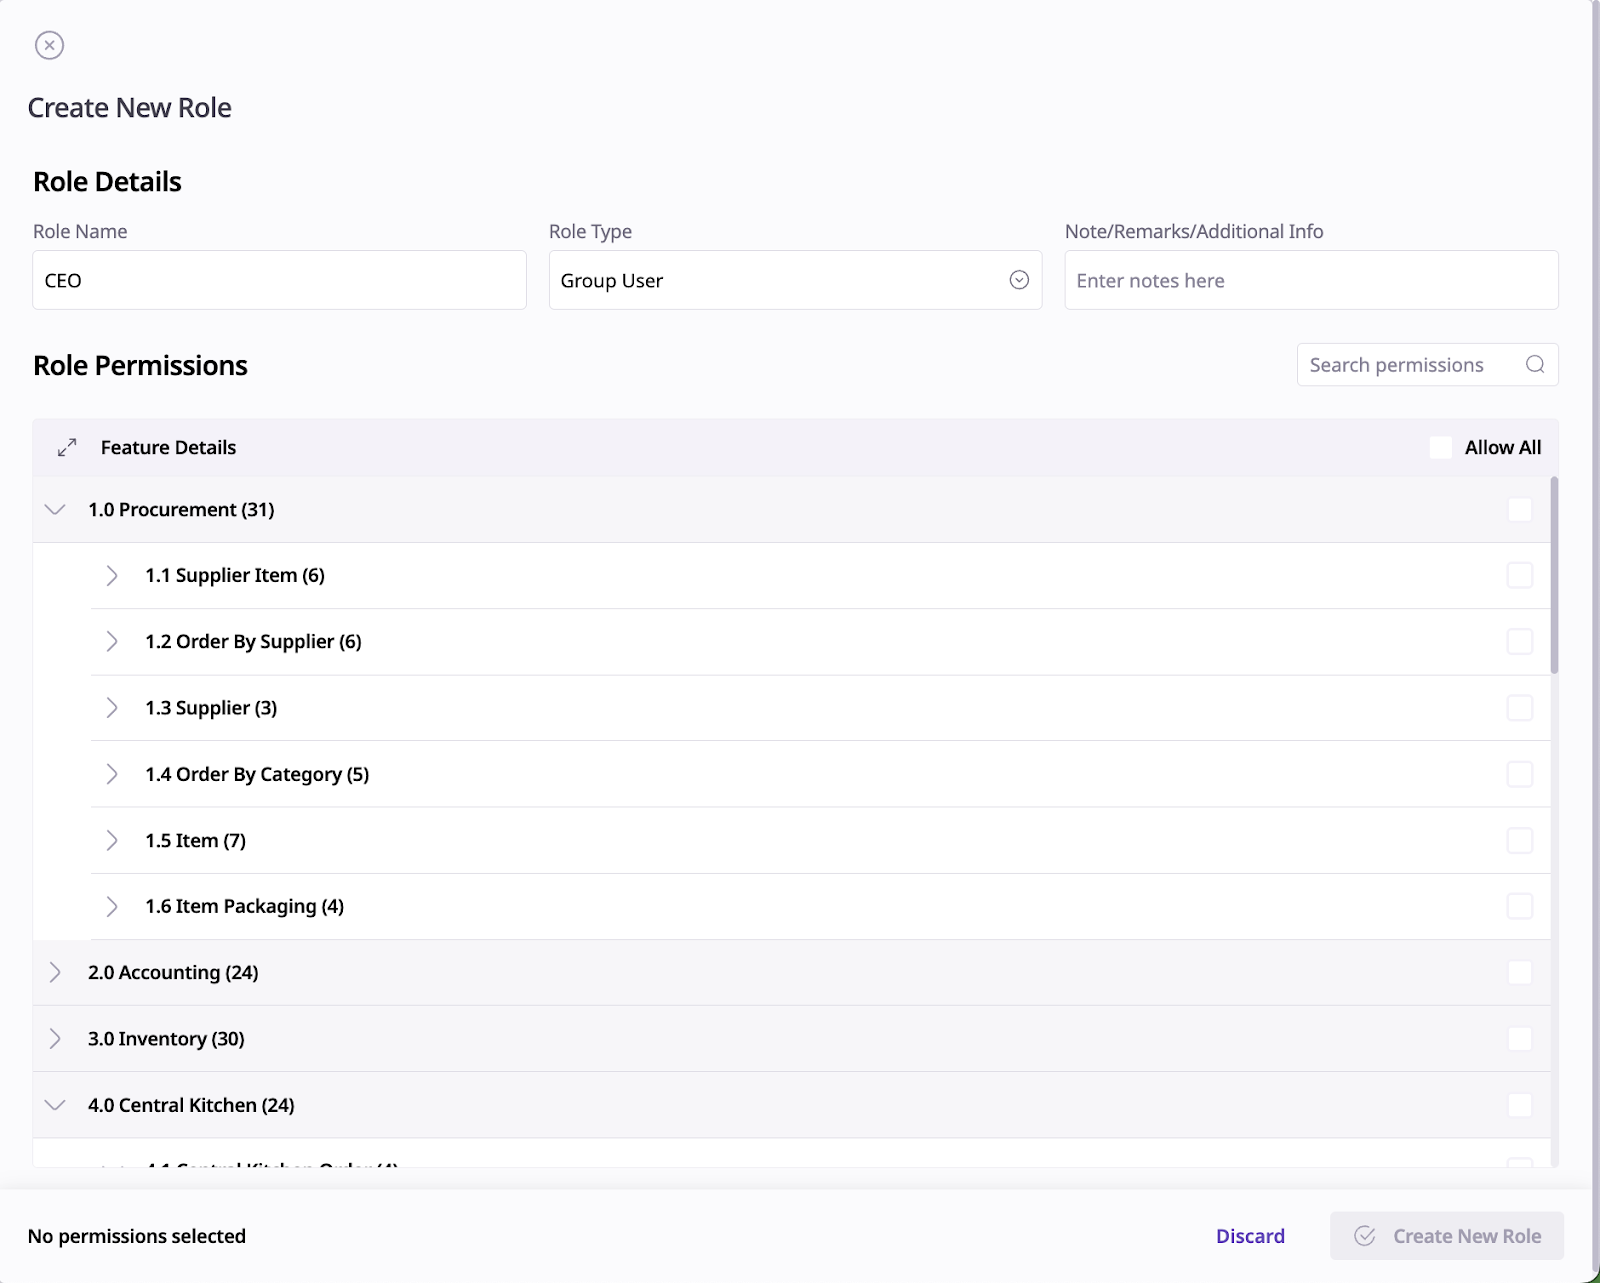
Create Role: In the Roles tab, click the "Create Role" button.
Configure Role Details: Provide a name for the role, select the type, and add any relevant notes.
Feature Access: Select the features accessible for the role, such as Procurement, Accounting, Inventory, and more.
Create New Role: After configuring the role details, click "Create New Role" to finalize.
Once created, custom roles can be assigned to users within the Supy platform. This allows for granular control over user permissions and access levels.
Finally, click ‘Create User’, located in the bottom right corner of the screen to create the user with the above-mentioned details.
You can always update the user details by going back to the users listing and clicking on any user.