1. Create a GRN: Start by creating a Goods Receipt Note (GRN) for the order. This document acts as the official record of goods received and serves as the basis for identifying discrepancies.
2. Document the mismatch: Note discrepancies in quantity or amount under the "Received Items" section to ensure proper documentation for future reference.
3. Warning notification: A warning will appear if the invoice amount does not match the order details, indicating that one or more items are disputed.
4. Match invoice amount: Adjust the invoice amount to match the order; the warning will turn green, confirming alignment.
Marking a GRN as disputed ensures that mismatches can be reviewed and reconciled later. Here’s how:
1. Document properly: Ensure all mismatches are accurately recorded in terms of quantities or amounts.
2. Mark as dispute: After documenting the mismatch, mark the GRN as disputed to move it to the "Disputed" section for further action.

3. Saving options:
- Save Partial Receive if some items are yet to be delivered.
- Save Close Order if no additional items are expected.
4. Confirmation warning: A warning will appear before saving, reminding you of the mismatch. Confirm this to proceed.
Resolving disputes is straightforward once missing items or quantities are delivered or corrections are made. Follow these steps:
1. Review and update: Open the disputed GRN and update it with accurate quantities or amounts once discrepancies are resolved (e.g., missing items are delivered).
2. Resolve dispute: After making corrections:
- Click on "Resolve Dispute" to mark it as resolved.
- The GRN will move out of the "Disputed" section.
3. Alternative resolution: If you do not wish to wait for missing items or further adjustments, you can directly mark the dispute as resolved by selecting "Resolve Dispute."
This process ensures transparency and accuracy in financial transactions while maintaining proper documentation for future reference. Always ensure that all updates are accurately recorded to reflect correct quantities and amounts in your records.
Creating supplier returns in Supy is a simple process that allows you to manage inventory adjustments and accounting efficiently. Follow these steps to complete a supplier return:
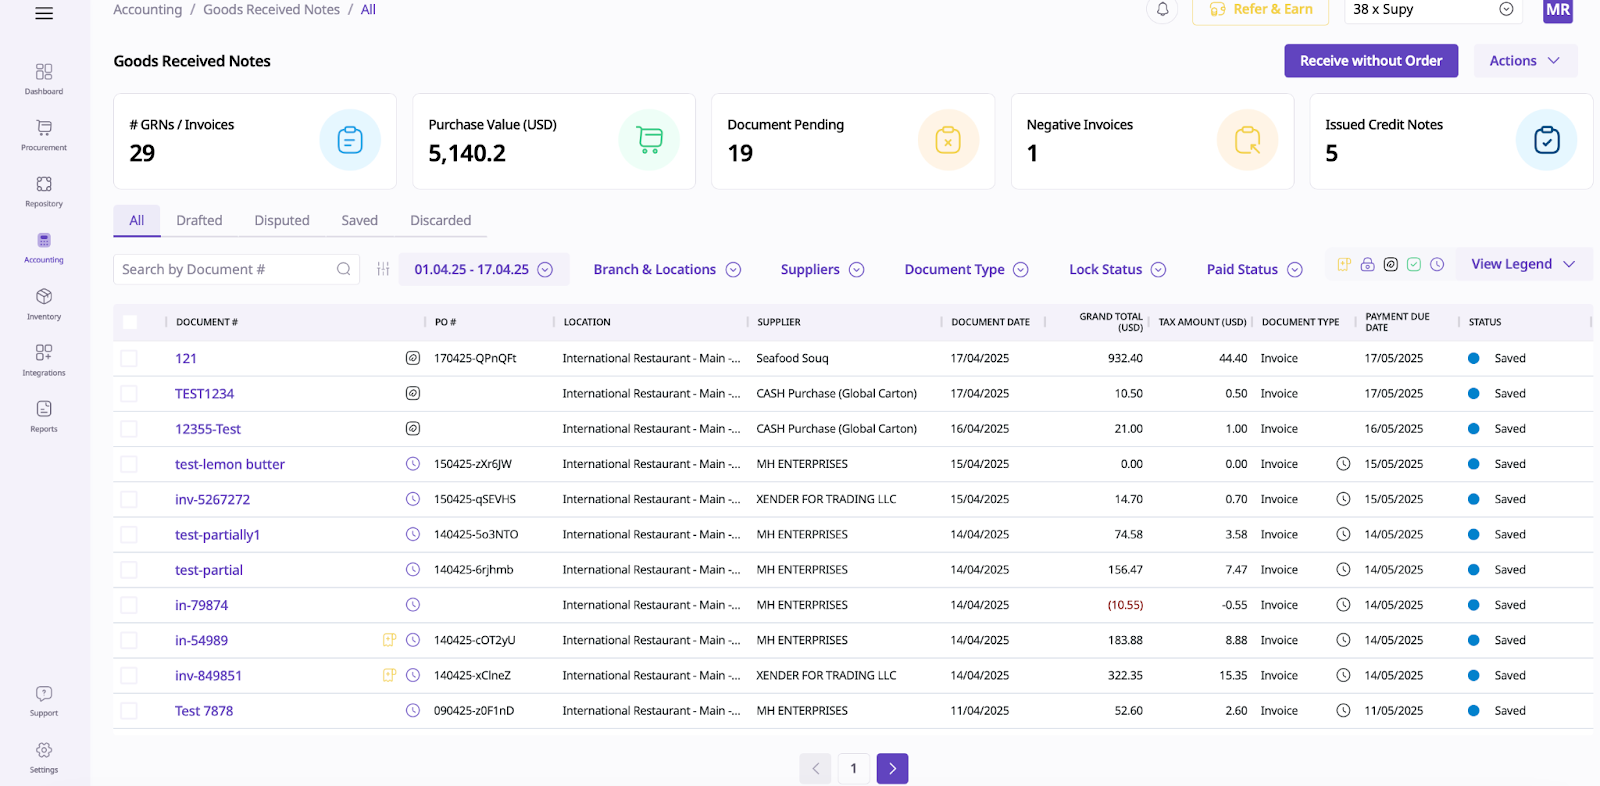
Step 1: Access Supplier Returns
Navigate to the accounting section in Supy and select Supplier returns. On the top-right corner, click on New supplier return to begin.
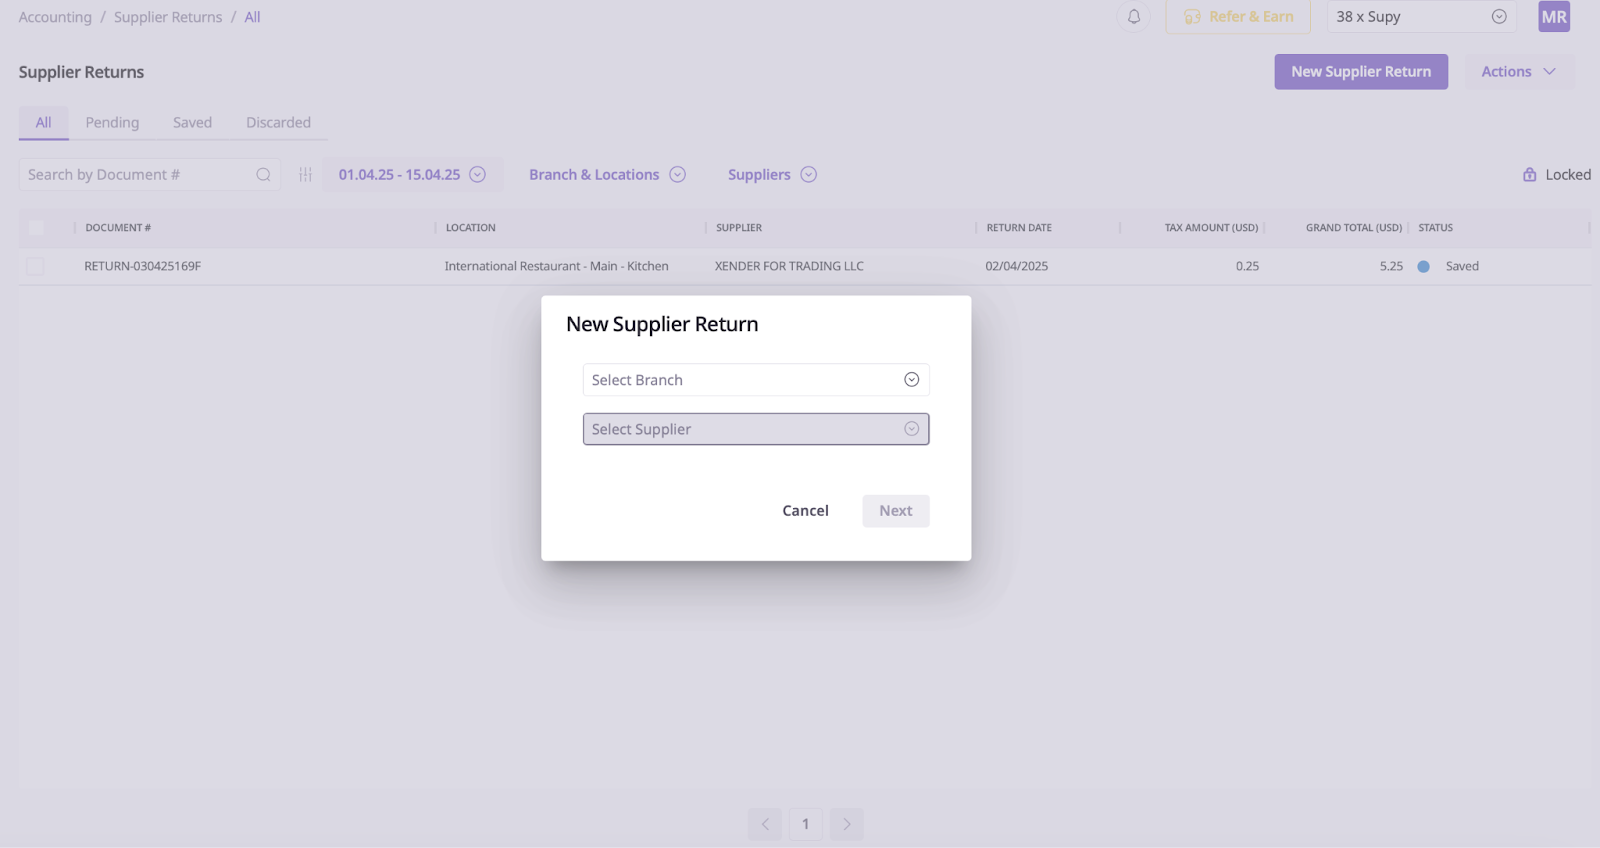
Step 2: Select Location and Supplier
Choose the location where the return is being processed. Then, select the supplier to whom you want to return items. The document number and return date will be automatically populated with today's date and an auto generated document number. These fields can be edited later if needed.
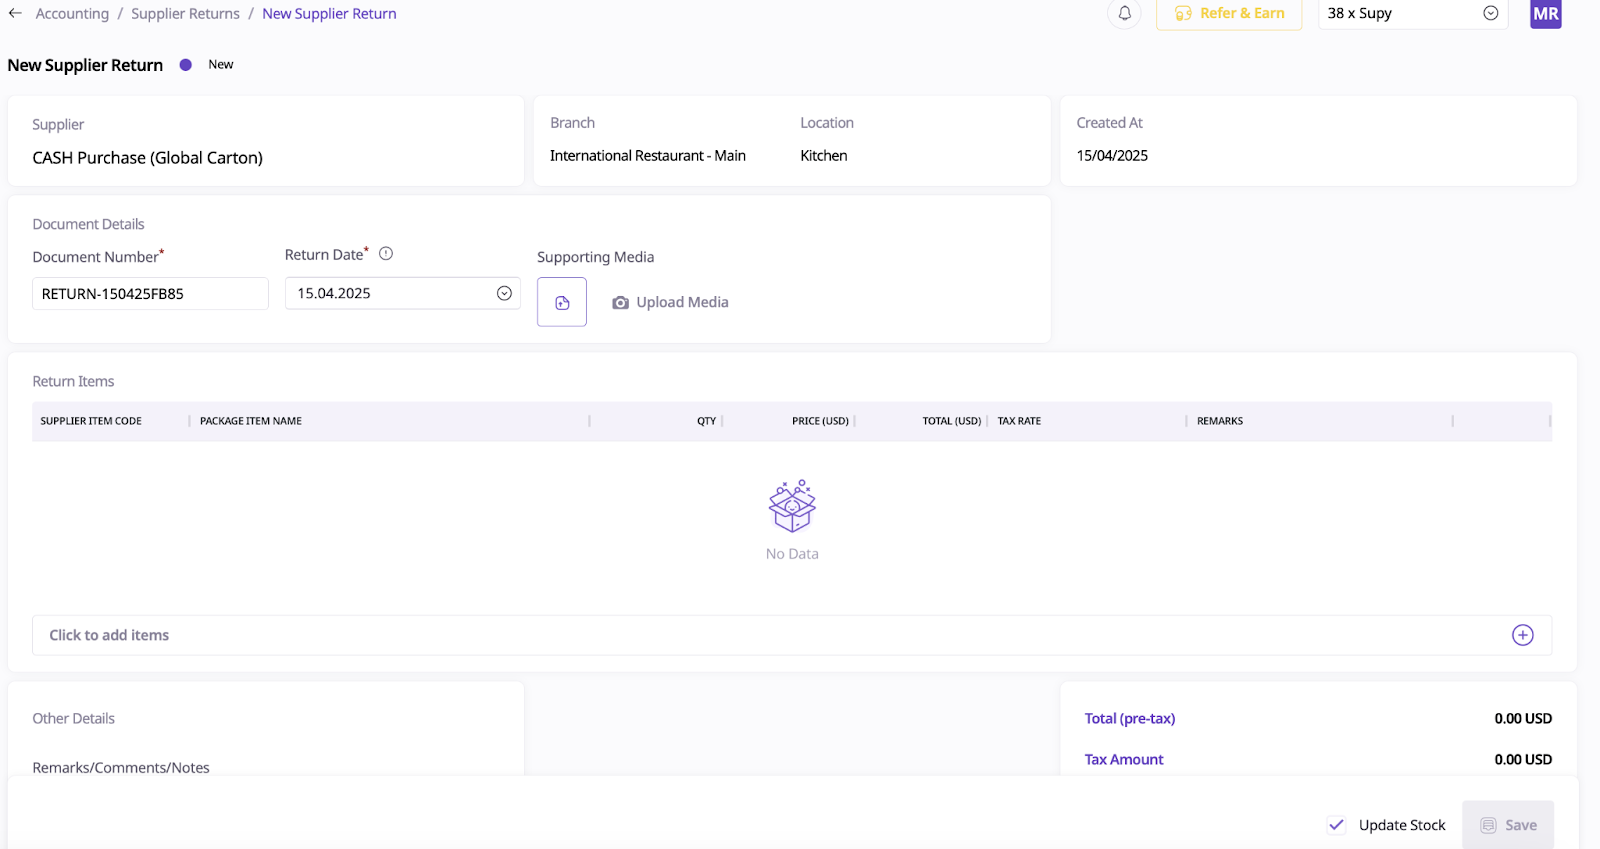
Step 3: Add Items for Return
Browse through the list of items and select those you wish to return to the supplier. Use the plus icon to specify the quantity for each item. Once all items are selected, click on add items to supplier return.
Step 4: Customize Details
You can adjust the return date if required. In the remarks/comments/notes section, input any additional notes or details related to the supplier return document.
Step 5: Update Stock
To ensure that returned items are removed from your inventory, tick the update stock checkbox. This will deplete the items and their quantities from your inventory records.
Step 6: Save and Manage Returns
Once all details are finalized, click on save to complete the supplier return. After saving, you can:
View your supplier returns in Supy.
Post the return directly to your accounting system.
Download a PDF version of the supplier return document.
Lock the document to prevent further edits or changes.
These steps ensure that supplier returns are processed accurately while maintaining proper inventory and accounting records in Supy.