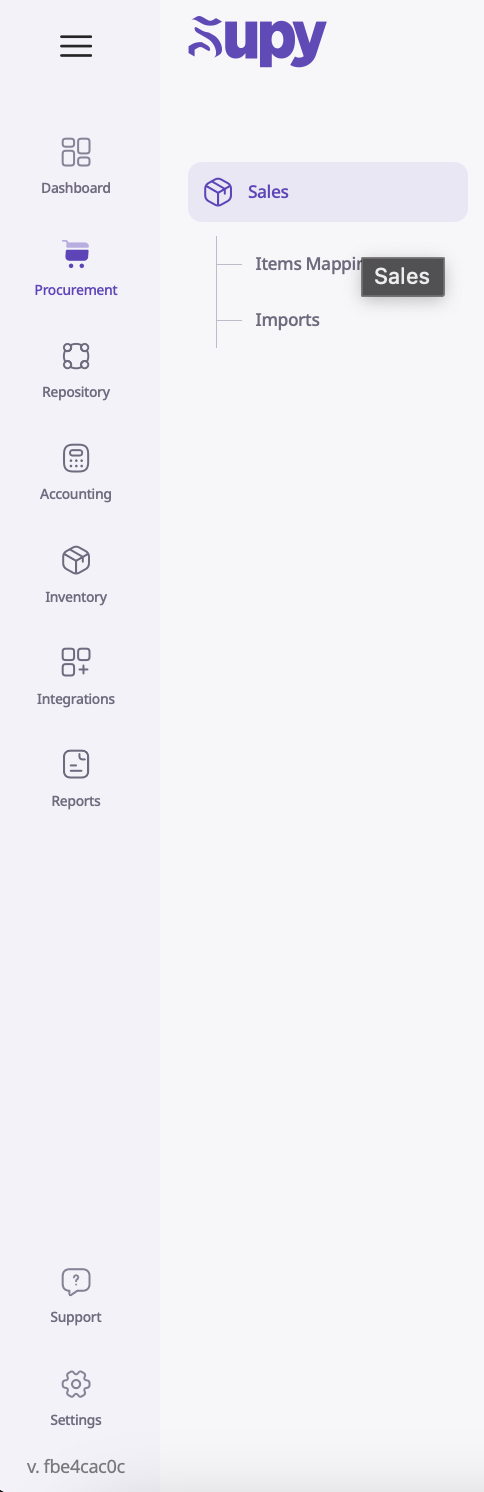
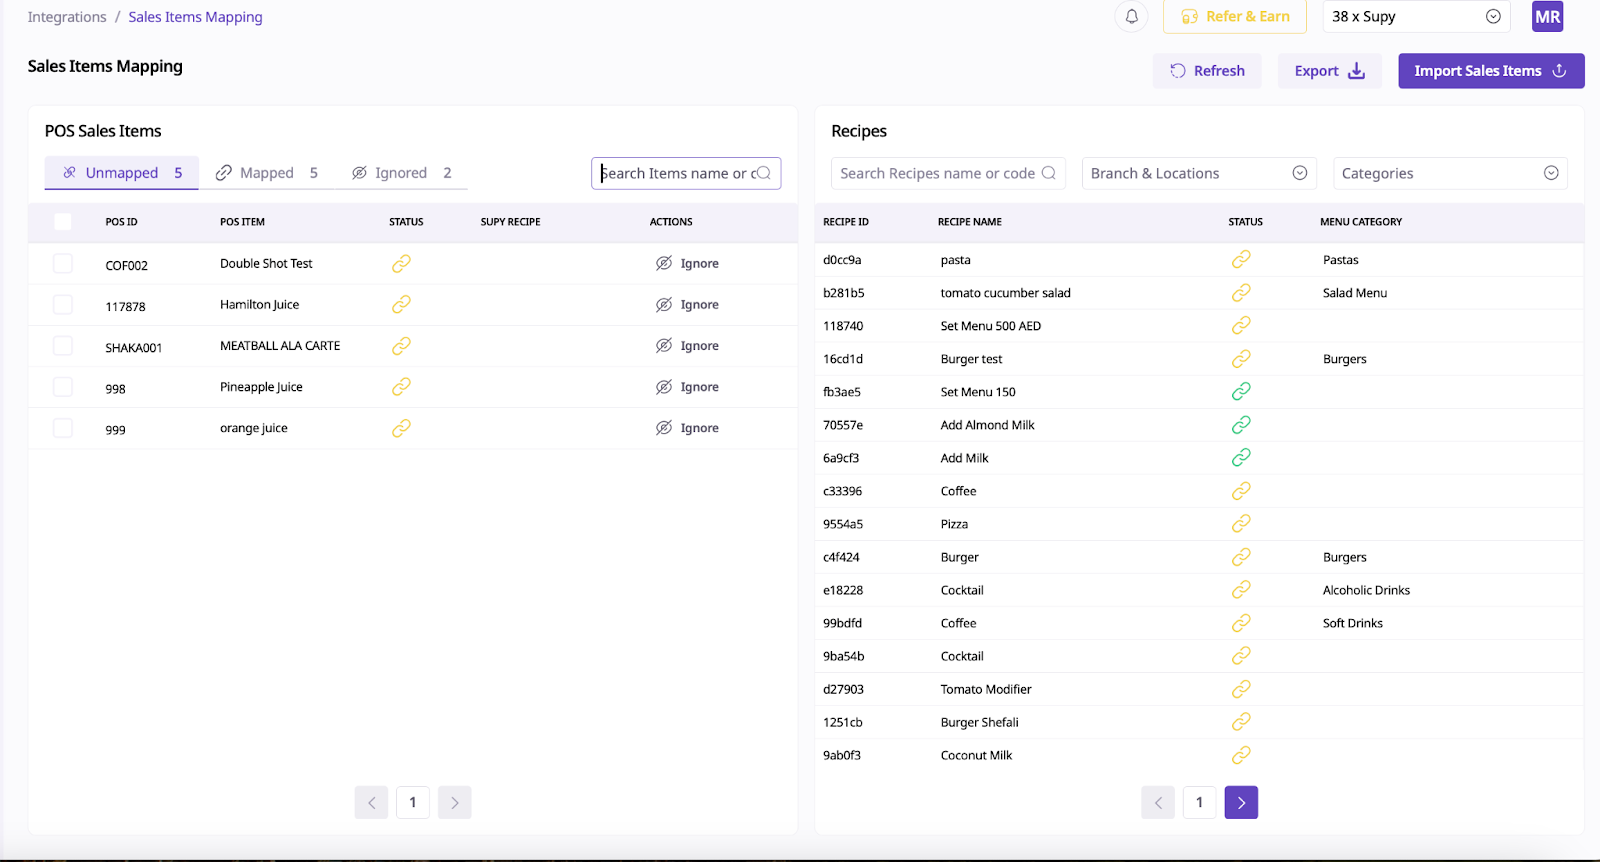
To begin, navigate to the Integrations section within Supy. Once there, proceed to the Item Mapping area. The options available here will depend on the POS system your client uses.
Some POS systems provide an item ID and will have a dedicated POS tab within the item mapping section. Here, you can directly map items using the information provided by the POS system.
First you have to go to Integrations, then you will need to go to the Item Mapping section.

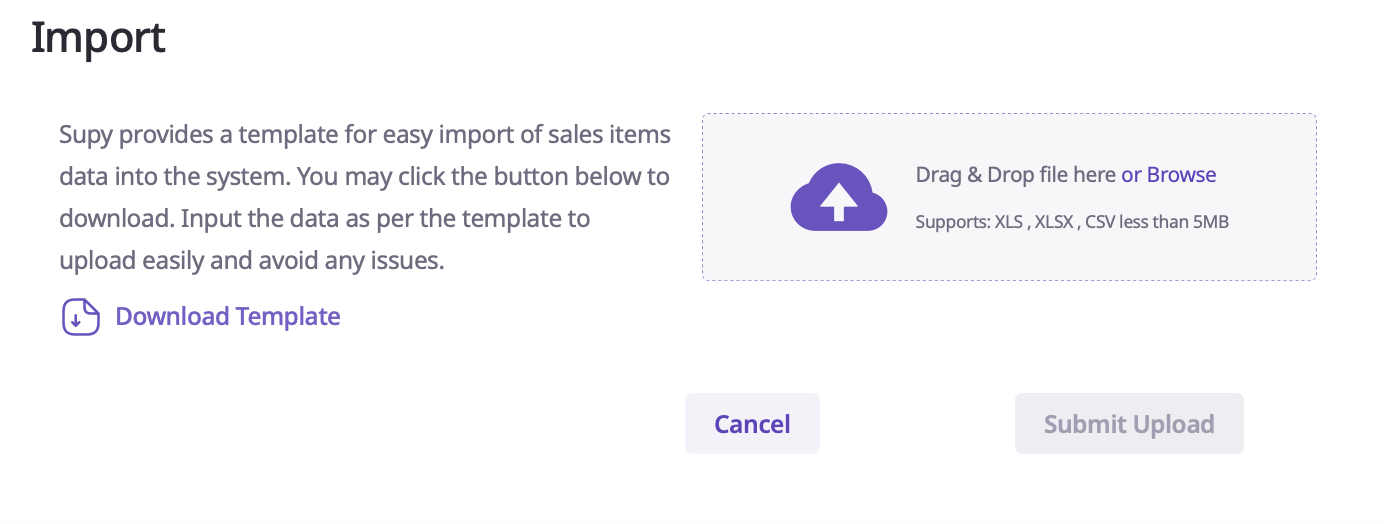
If your client does not have a POS integration, you will need to upload sales data manually. Here’s how you can do it:
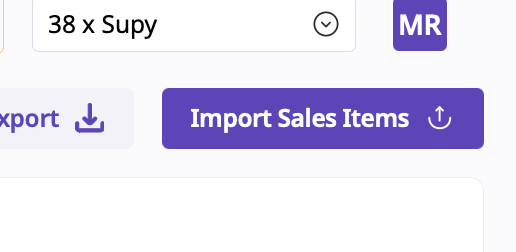
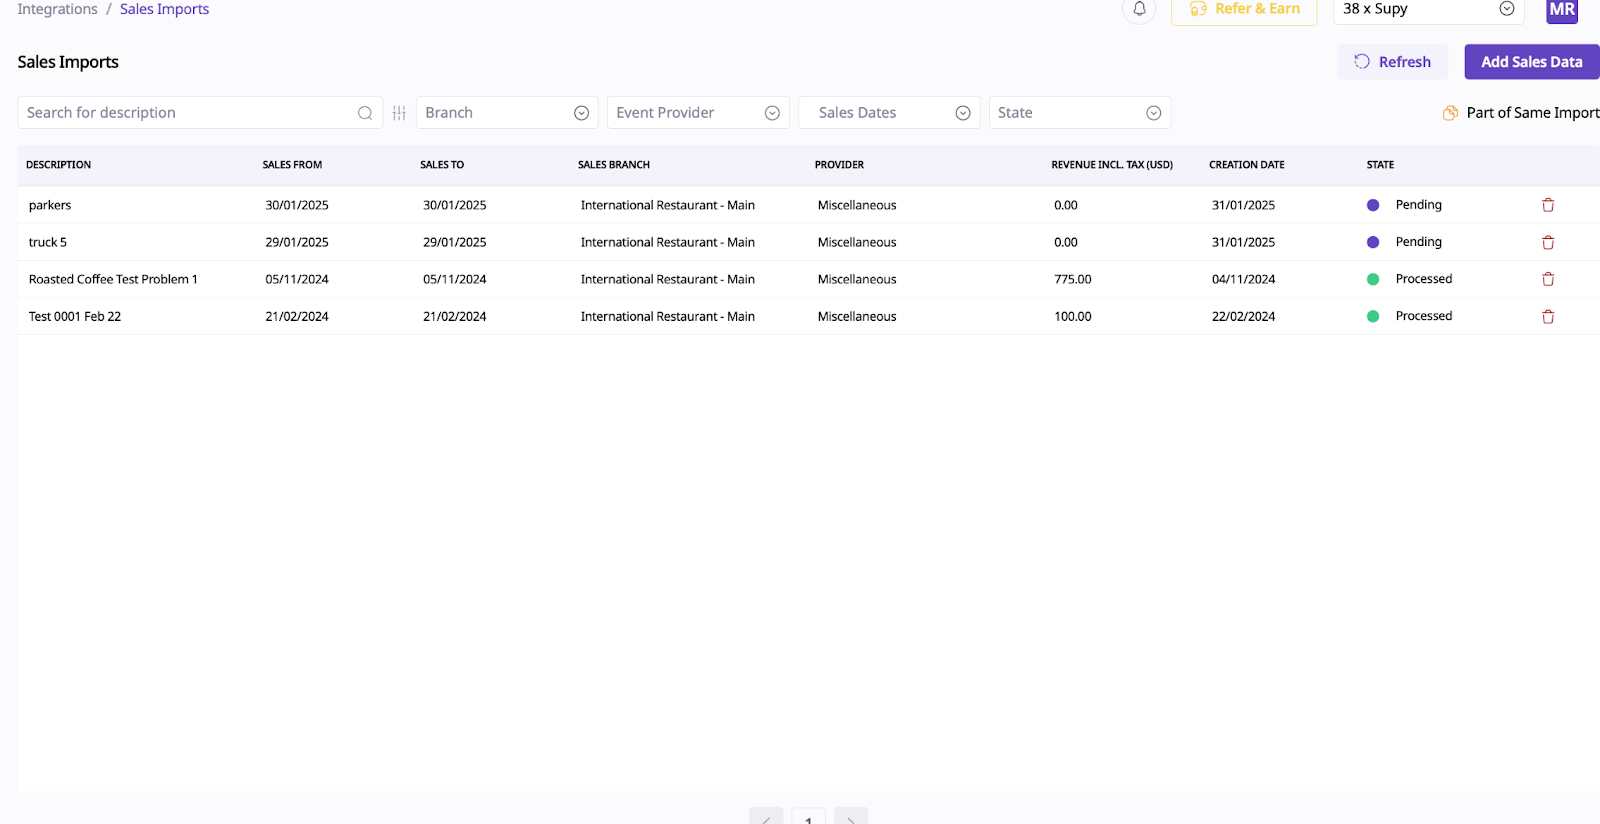
Go to the Import Sales option in Supy.
Download the provided template.
Fill out the template with the required information: item ID, item name, item category, and (optionally) whether the item is a modifier.
Save the completed sheet to your desktop.
Return to Supy, browse for the saved sheet, and upload it.
All the information you’ve entered in the sheet will be uploaded to Supy.
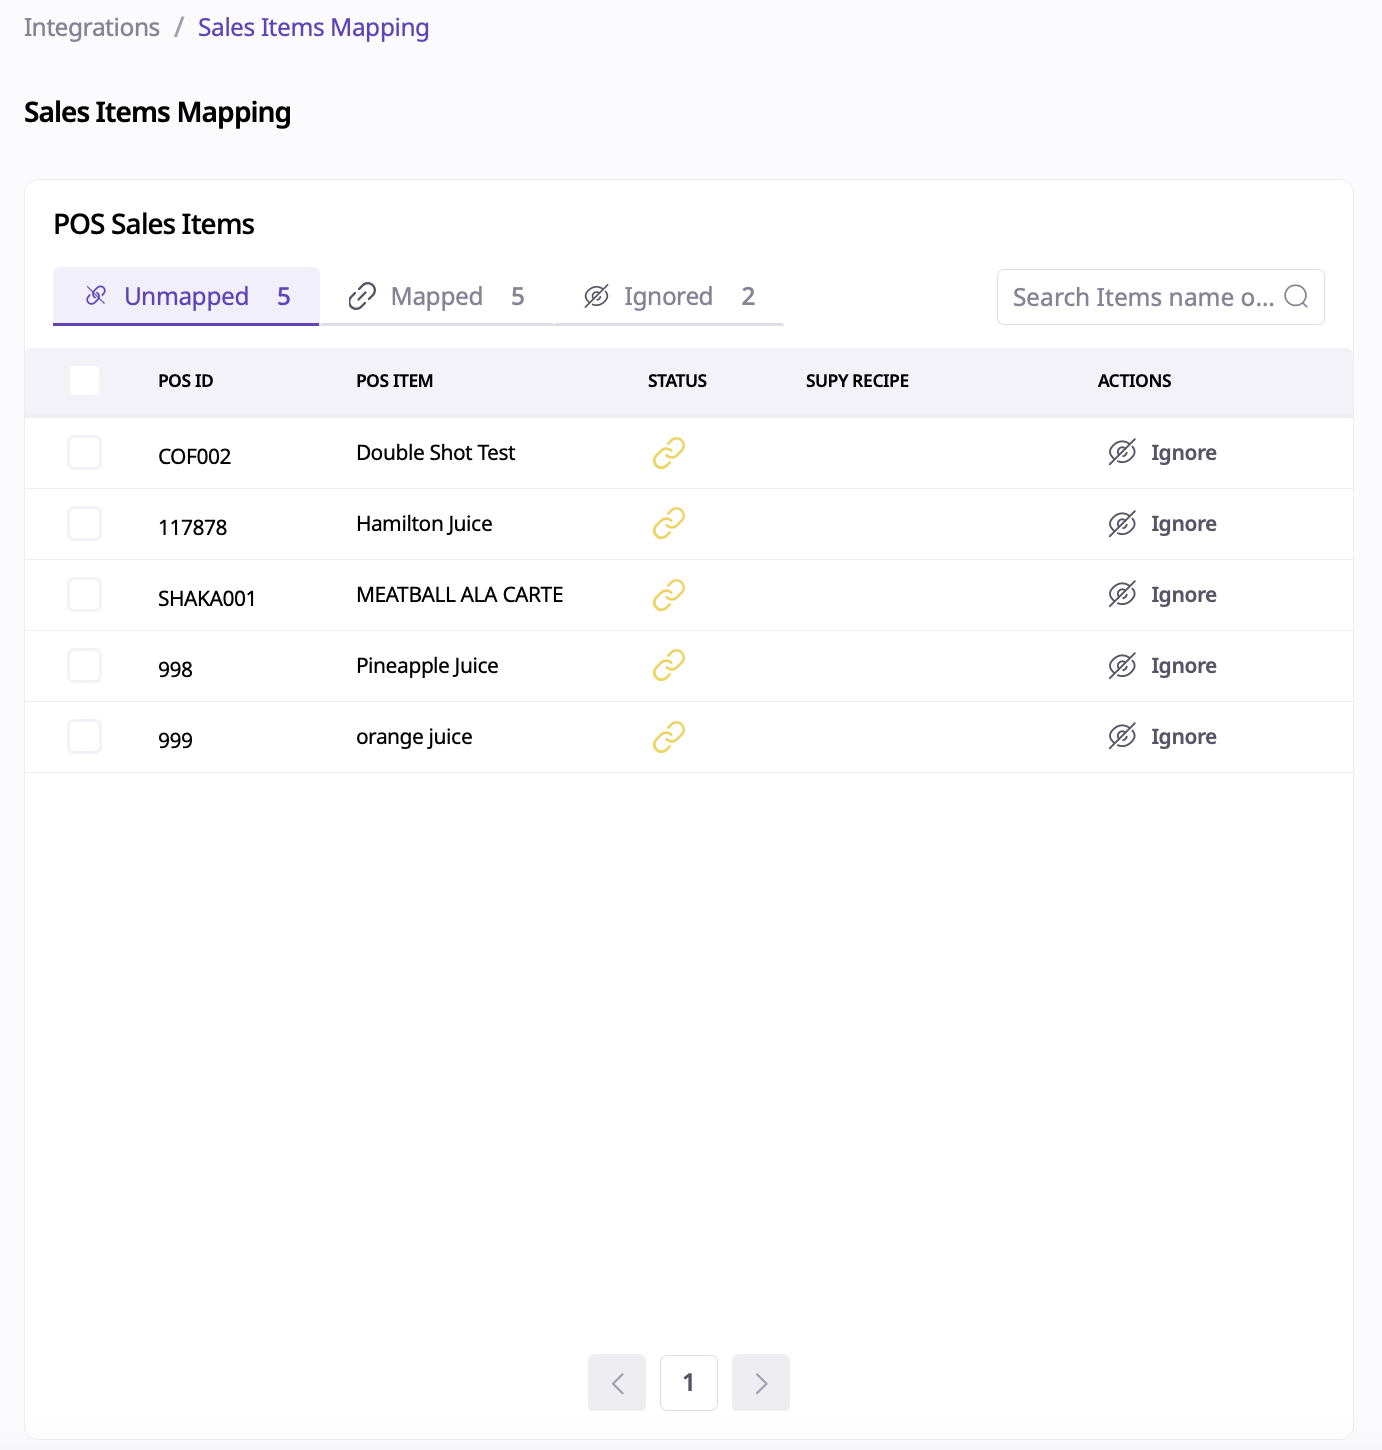

After uploading, you can proceed with item mapping:
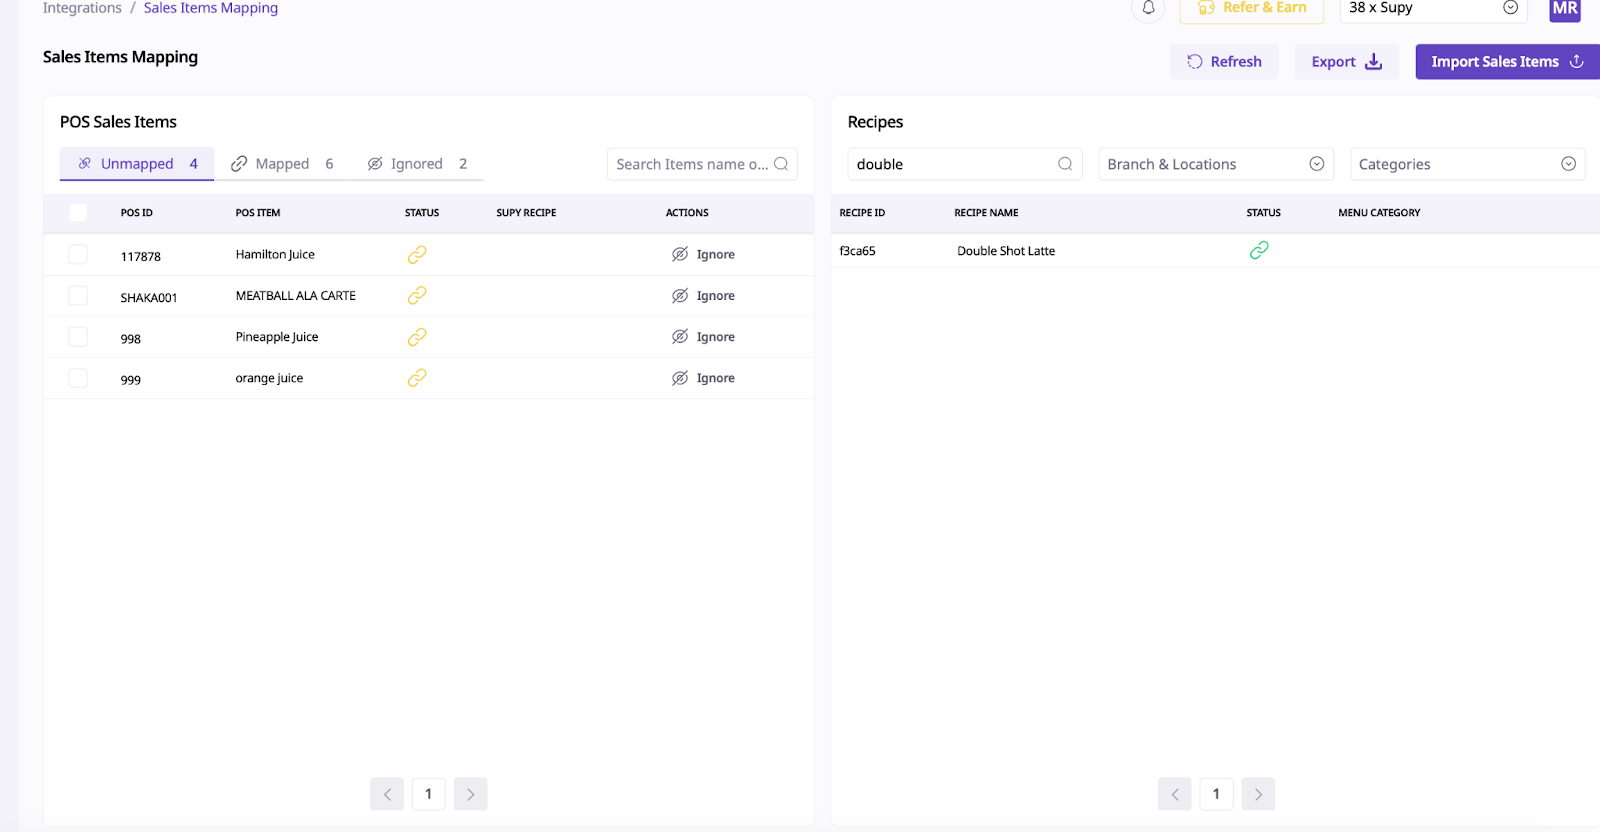
Search for the POS item ID or the item name within the mapping section.
Locate the corresponding item under Recipes.
Click both items to indicate they are the same. Once mapped, the items will appear highlighted in green.
Sometimes you have comments that you can ignore:
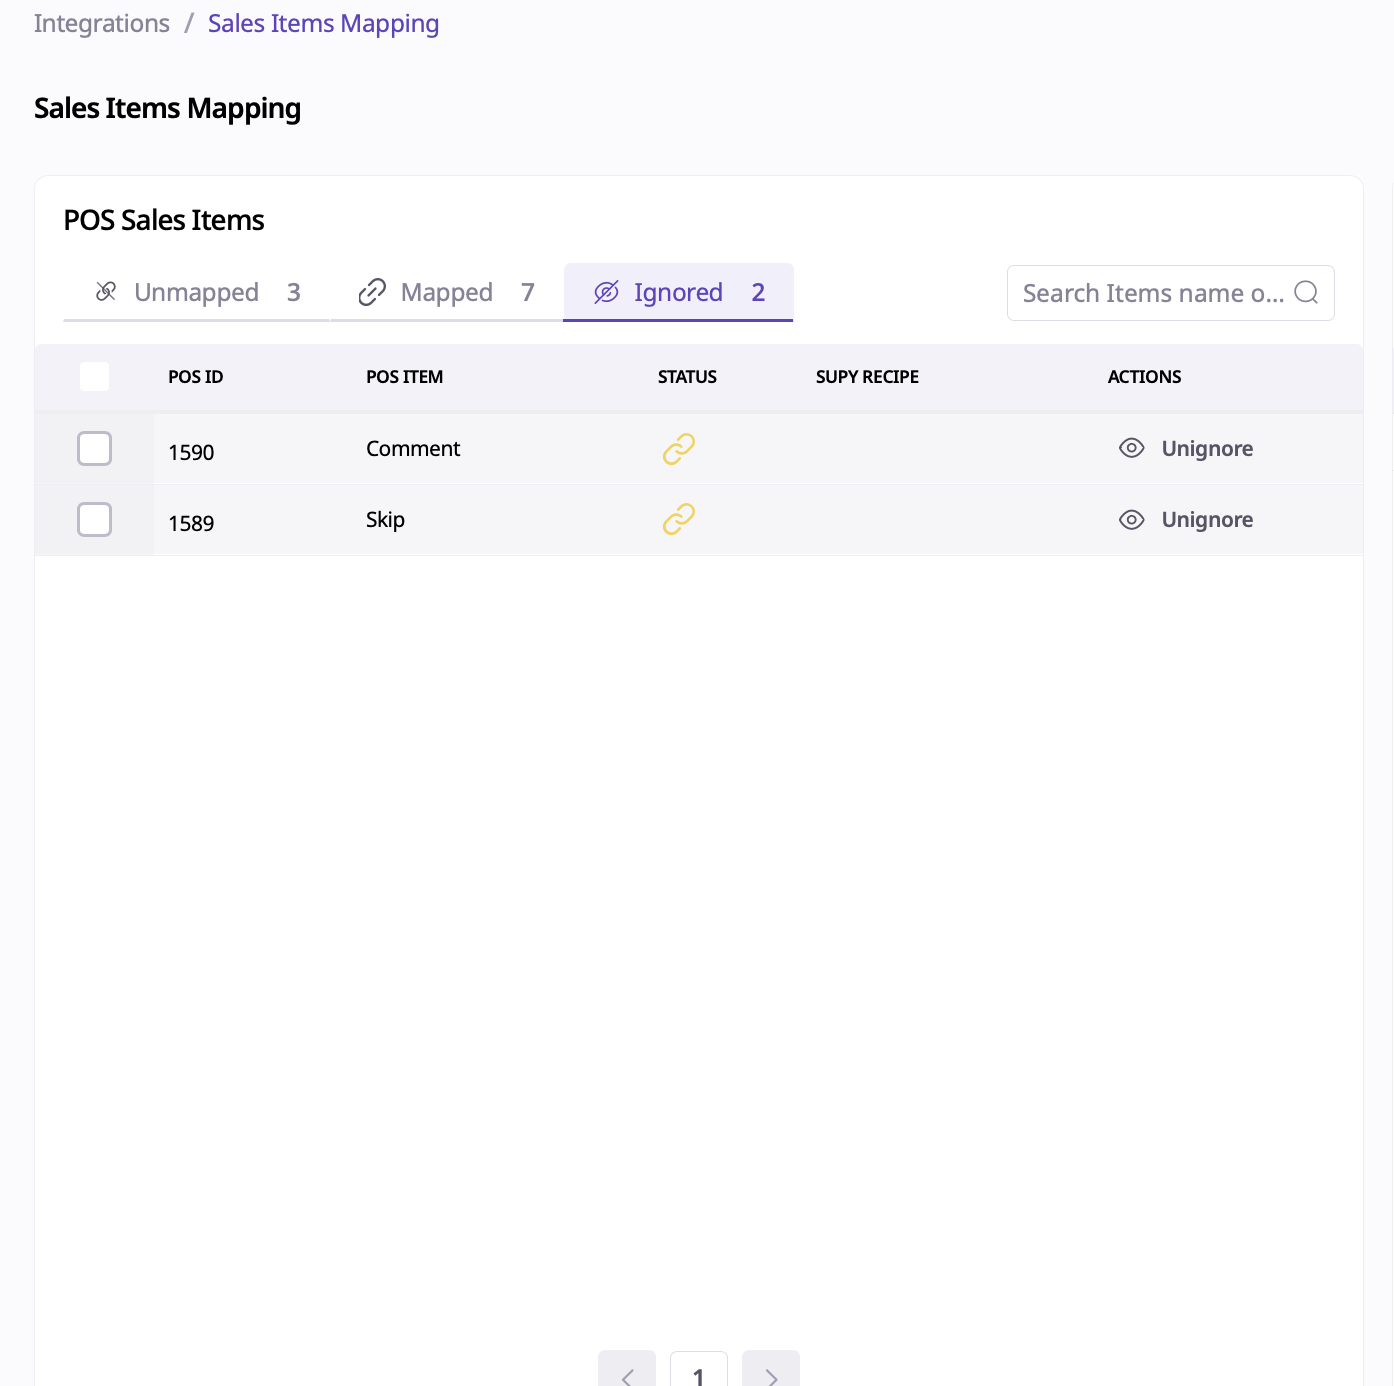
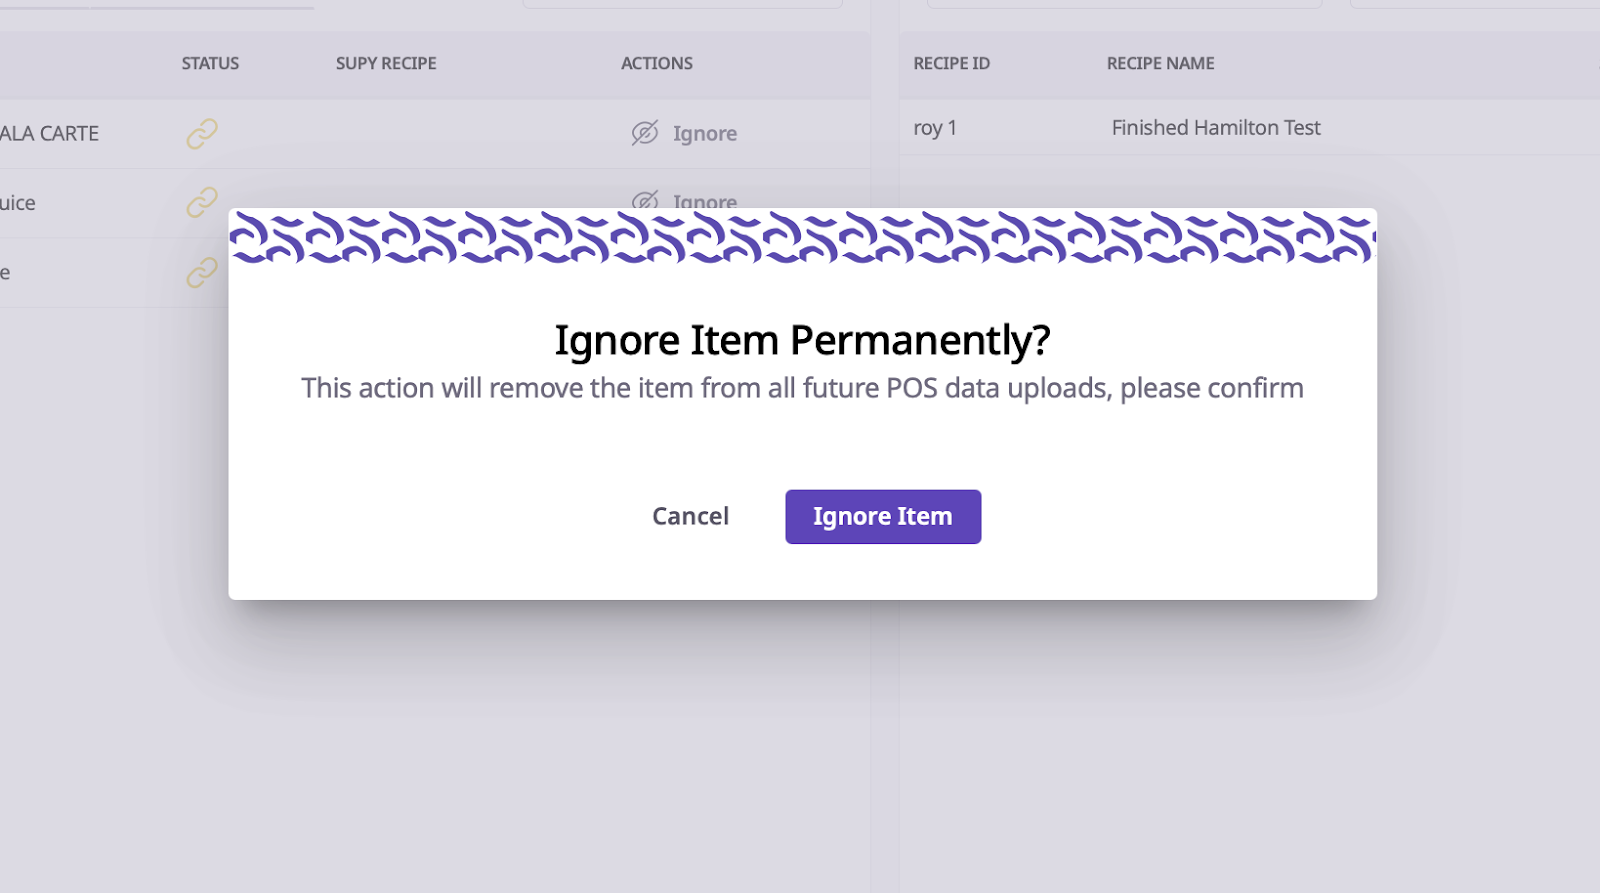
Occasionally, you may encounter comments during the mapping process. These can usually be ignored, and the items will move to the Ignored tab.
If the mapping process becomes overwhelming for the client, they can use the import section to upload sales data directly. This allows them to map the data to any sales information they have, streamlining the process.
By following these steps, you can efficiently manage item mapping and sales uploads in Supy, whether or not your client has a POS integration.